Showing posts with label cardboard tubes. Show all posts

11/1/11

Things to Make - The Story of a Box

bwandstuff

I'm somewhat addicted to Amazon's Subscribe & Save Program (why run out for toilet paper when you can have it delivered to your door for free?) - the prices are good and free two day shipping continues to amaze me (I'm a dork like that). My husband, on the other hand, has problems with all the packaging waste, so I set out to prove to him that where he sees extraneous boxes, we see an all-day craft project.

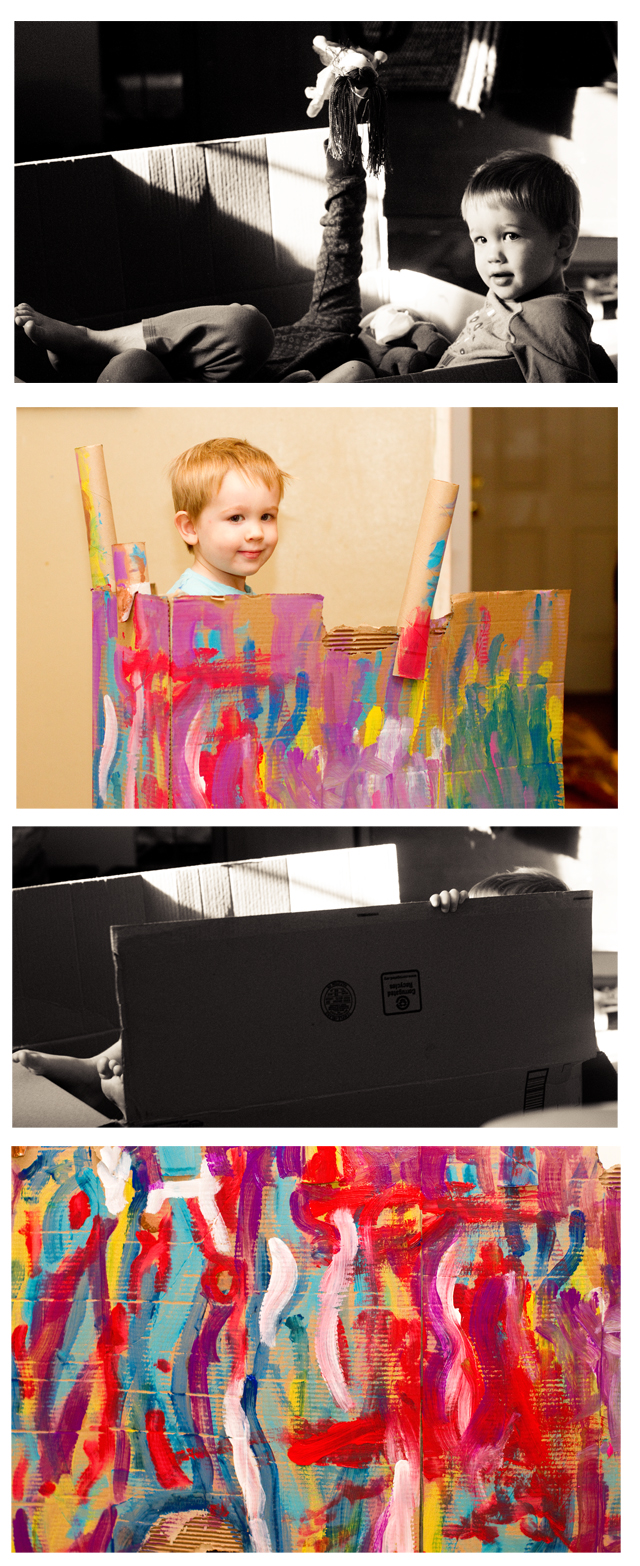
Stage 1 was easy - I simply asked P and T if they wanted to ride in a "boat." So they spent all morning in a large box. I didn't even paint it or anything as they seemed perfectly content "steering" their simple vessel throughout the waves of our living room. But finally (of course) the sides collapsed. At this point, T decided he wanted a house, but P decided he really needed his own castle. On to Stage 2 . . .
paint

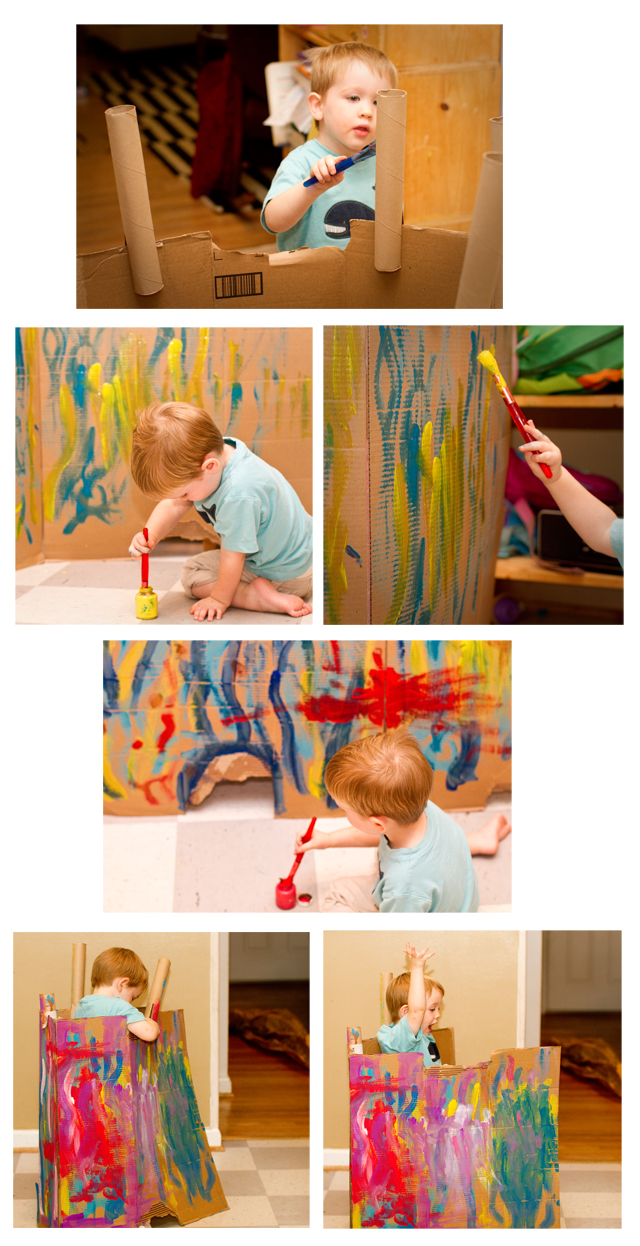
In a half-hearted attempt to make a collapsed box look more castle-like I added "pillars" made from old paper toll rolls (I just cut slits in the bottom of the rolls to attach them to the sides of the "castle"). Then the painting began - one color at a time (some sense or order was needed). T painted everything in long thick lines ("look mommy, I make railroad tracks. lots of railroad tracks.") Maybe I've been in momland for too long (maybe???) but I actually think T's whole creation looks rather impressive (move over Picasso, we've got SKILLS). Or maybe it's just that T was having the time of his life. Finally painting came to an end and we waited for the pigment to dry.

T spent a large part of the next day walking around with his "castle" wrapped around him. I assumed we'd tape the sides together and make an exit on the bottom but he preferred to wear it. At some point he decided it was now a horse and galloped around. A rainbow horse. okay.

And finally, the box made its way to recycling. But at least we showed it love.
________

*DON'T FORGET to enter our giveaway for a copy of the Sand Castle CD. Seriously, really great music, you won't be disappointed. Click here for the info. And if you enter through the facebook link, make sure you BOTH like the facebook page AND leave a comment on the wall (otherwise it's hard to tell if you are actually entering the giveaway).

3/22/11

Things to Make - Cardboard Tube Instruments (From the Recycling Bin)

paint
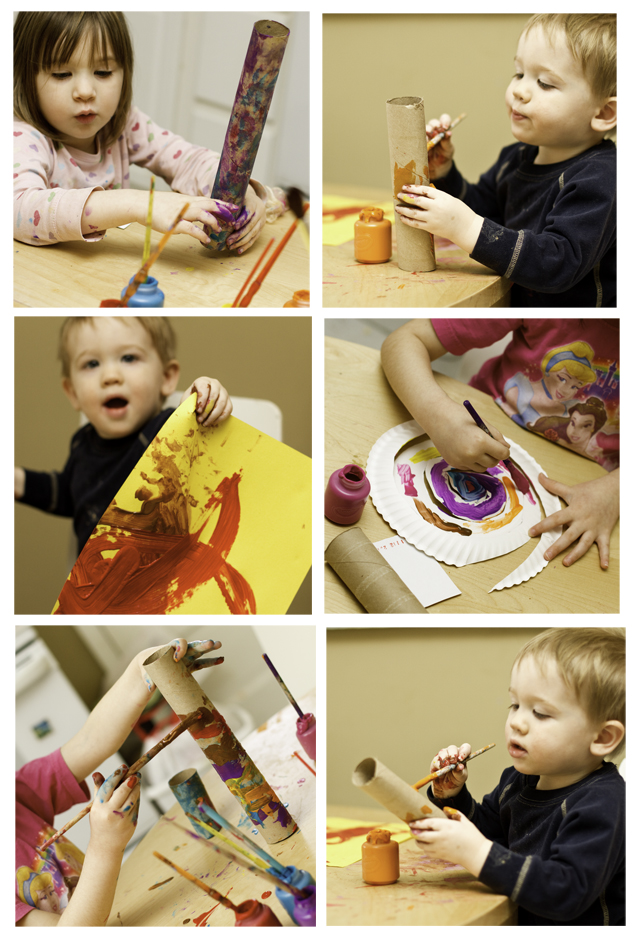
(The photos above exemplify why we chose to buy our kitchen table at Ikea.)

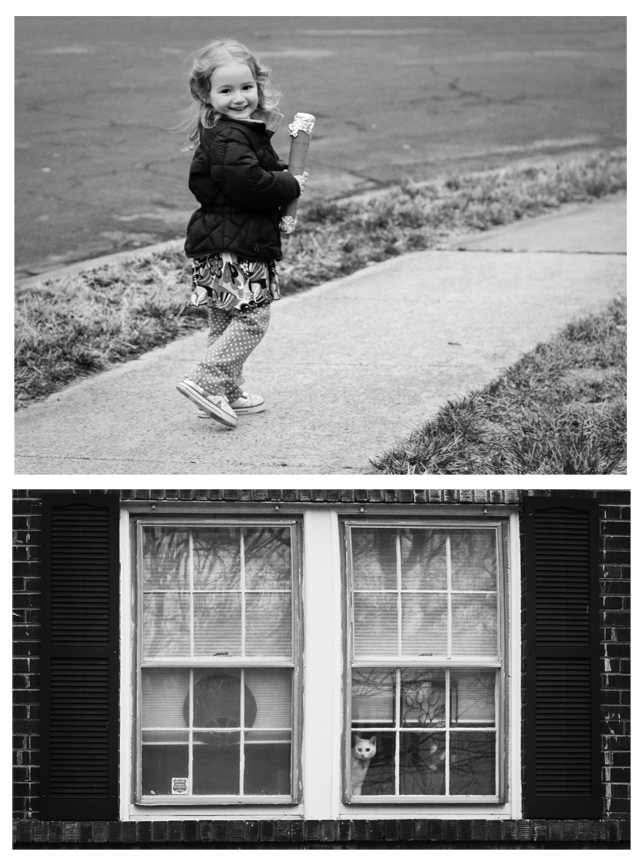
Last week a friend came over with her daughters and I thought the kids would have fun making cardboard tube instruments (yes, I'm in love with the recycling bin lately). My hope was that they would all choose different instruments and we could have a band, but that didn't quite work out as all the kids wanted shakers (why no bass bogs or kazoos?). Unfortunately for the kids the shaker had the least chance of long-term success (i.e. it fell apart). Oh well, the shakers' early demise was probably a good thing as parents only want to hear instruments for a set amount of time. Plus, they lasted long enough for us all to parade around the block and, as a parent, that's about how long I wanted them to last.

Here's the scoop:

For the shakers you'll need: cardboard tubes (large or small), paints or markers, beans or popcorn, tinfoil, and rubber bands.

1. First decorate the tube (paint it, color it, glue things to it, etc.) - this is really the highlight of the project.

2. Let tubes dry.

3. Cover one end of the tube with aluminum foil (we rubber banded it on).

4. Pour popcorn seeds into tube (or beans or anything else noisy).

5. Cover other end of tube with aluminum foil.

6. SHAKE!!!

In retrospect, we probably could have used more sturdy tubes (maybe a pringles can? but then I'd have to buy pringles. any other ideas?) or enclosed the popcorn with something more sturdy than aluminum foil and rubber bands, I've seen other people use thick masking tape and construction paper, which seems to work well.

(For other instruments: Bass Bog - make cuts in each end of the tube and insert a rubber band, pluck; Kazoo - cover one end with wax paper either using glue or a rubber band, blow). All ideas came from this book - Look What You Can Make With Dozens of Household Items!: Over 500 Pictured Crafts and Dozens of More Ideas!).

OTHER CARDBOARD TUBE PROJECTS FROM AROUND THE WEB:

*We built doll slides and castles. Click here to see.

*These pillow boxes are so pretty.

*Use them for seed planting - what a great spring project.

*Adorable mini-princess crowns from Lilla a.

*I love these marionette puppets and these mini-lanterns.

*Heart-shaped stamps seem easy enough.

*Or why not just paint and cut them and make a sculpture or collage?

*And for the truly motivated - add some boxes and craft a Tangled tower, this is seriously beautiful.

What about everyone else? Any great ideas for crafting with cardboard tubes?


band

cat
The random cat in the window made F's day. She said, "I really hoped that after people heard our traveling band they'd come outside and listen. I'm so glad that cat likes our music."

2/15/11

Things to Make - Doll Slides & Castles (from the Recycling Bin)

finish

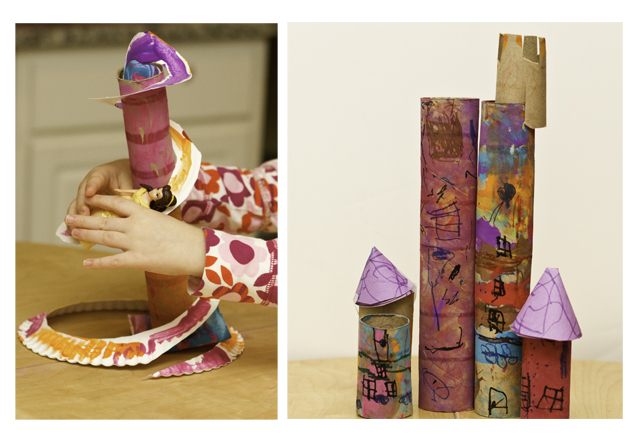
A few weekends ago, F had a fever and my husband was out of town, so I spent the weekend homebound with the kids. In order to move the day along I asked the girls' to peruse Look What You Can Make With Dozens of Household Items!: Over 500 Pictured Crafts and Dozens of More Ideas! and find some projects, preferably with cardboard rolls as I've been hoarding these lately (so many project uses). Regarding our newest craft book, on one hand, I love the plethora of projects described (there are thousands, all of which require very few materials). However, the book includes photographs of the finished projects, which can be nervewracking with kids because they want their results to look as good as the books' results and, in my experience, unless MAJOR parental intervention occurs such perfection rarely results. Luckily, P and F picked two relatively simple projects - a slide for dolls and a "castle".

THE SLIDE:
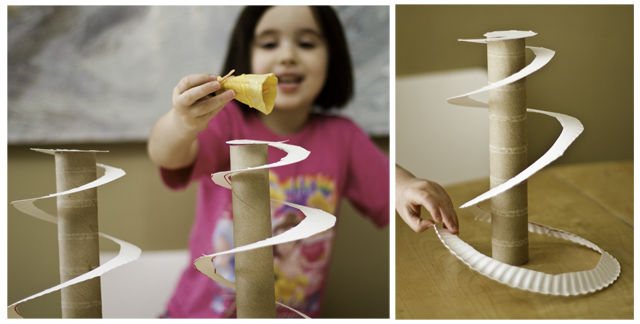
The slide proved super easy to make. All we needed was an old paper towel roll, a paper plate, and some scrap cardboard to glue the paper towel roll onto. I cut the plate into a spiral and, voila, a doll slide. The girls loved their slides as is but I really wanted to stretch out the afternoon, so I asked F & P to paint them. Unfortunately, once the projects dried, F complained that the paint made the slide too "bumpy" for princesses. Oh well, she had a fever, which means, in her eyes, I couldn't really get anything right.

unfinished
(The prepainting pics on the "smooth" slide)

THE CASTLE:
Basically we just painted rolls of different sizes (T loved this part) and once they dried the girls drew in windows and doors for a castle-tower effect. We made roofs by tracing circles onto construction paper and then taping them together teepee style. I actually think the castle came out pretty cute. Plus, all three kids actively participated, which made me happy (well, until clean up started).

work

LinkWithin

Related Posts Plugin for WordPress, Blogger...