Showing posts with label cooking with kids. Show all posts

9/4/12

Things to Make - Homemade Noodles

recipe

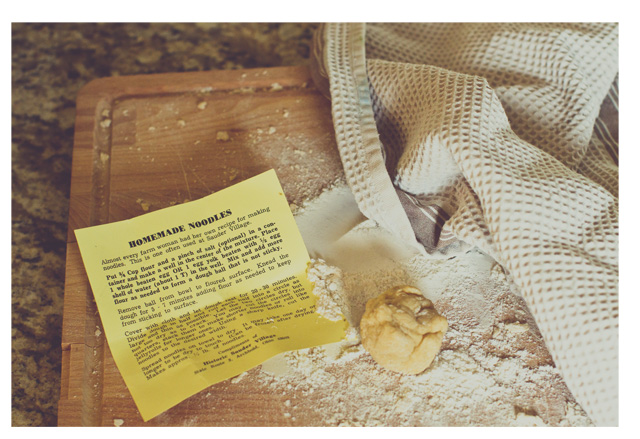
On the drive back from Chicago, we stopped at the Historic Sauder Village - outside Toledo, OH (I'll post more on the village tomorrow). In one of the houses, a woman was making noodles. The kids seemed intrigued, so after we arrived home I decided to try making our own (using the recipe provided by the village).

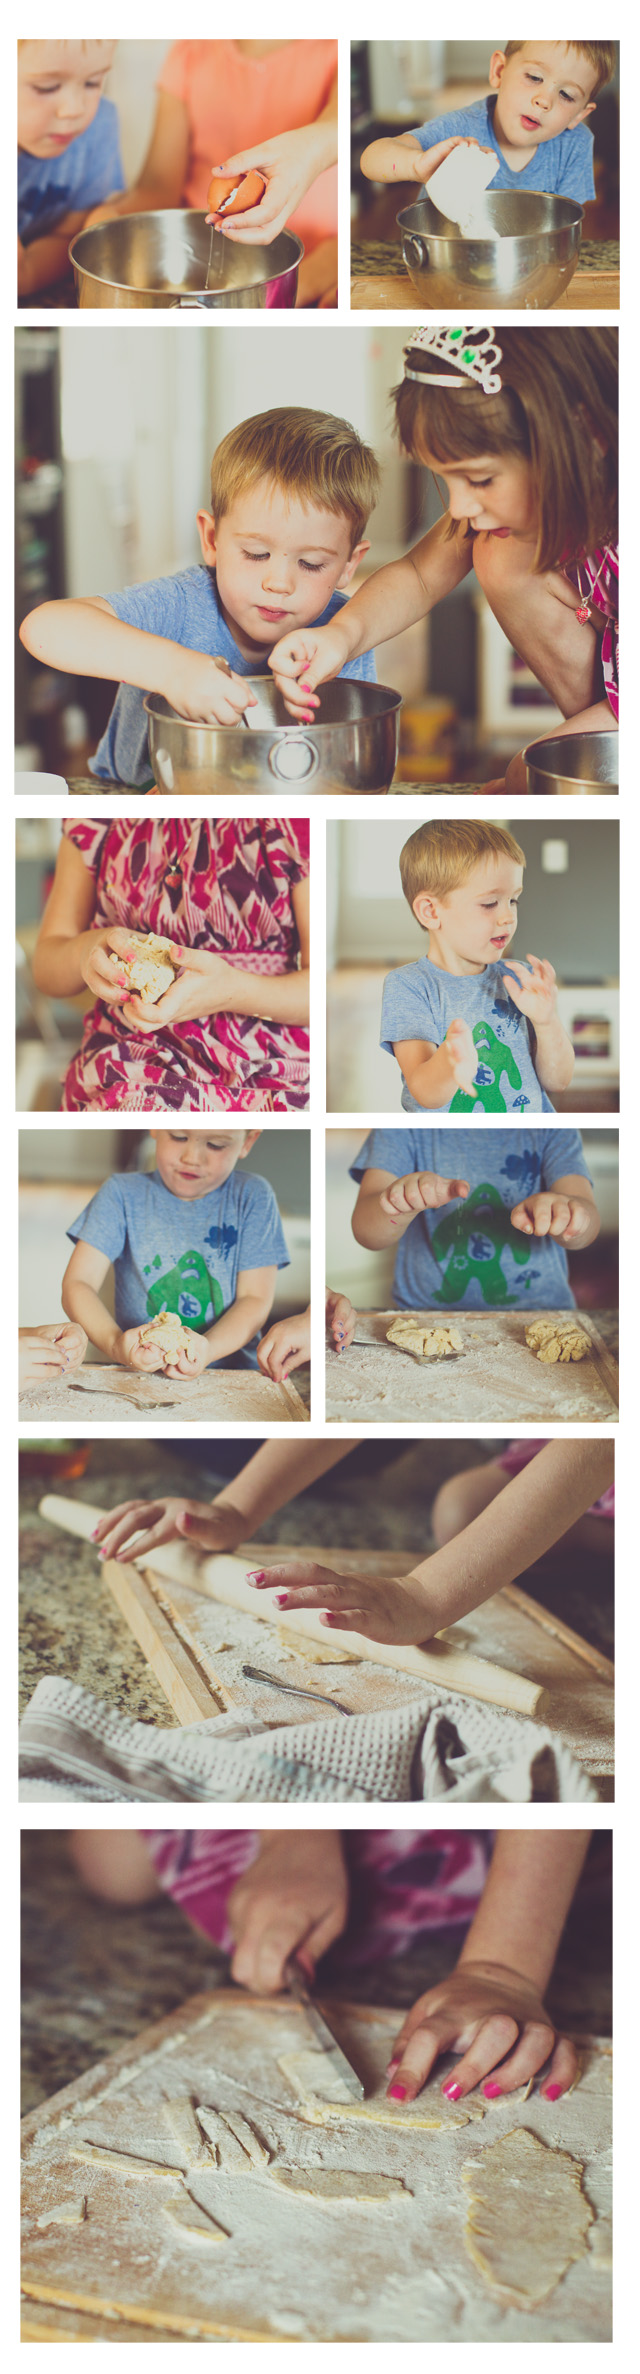
This turned out to be a fantastic project for cooking with kids - not too many ingredients and lots of "kneading", so everyone had a turn to do something. Plus, all the kids loved eating the results and they tasted better than store-bought pasta. Really.

Here's the scoop (from the Historic Sauder Village):

INGREDIENTS (for approximately 1 lb of noodles): 1.5 cups flour, a pinch of salt, and 2 eggs (beaten)

1. Put the flour and a pinch of salt in a bowl and make a well in the center.

2. Pour the beaten eggs into the well.

3. Mix as needed to form a dough ball that is not too sticky.

4. Remove the ball from the bowl to a floured surface. Knead the dough for 5-7 minutes (I let each child knead for 2 minutes). Add flour as needed to keep the dough from sticking to the surface.

5. Cover with a cloth and let the dough rest for 20-30 minutes.

6. Divide dough into four balls and roll each ball into a circle, as large and thin as possible.

7. Cut the circles into noodles (whatever shape you want).

8. Spread noodles on a towel to dry, then refrigerate.

I still haven't mastered how long to cook them for, but even slightly undercooked, everyone enjoyed the taste. Maybe I'll eventually invest in a pasta maker, in order to get them really thin. Any suggestions on brands or types?

Happy Tuesday!! The girls start school today, kindergarten for P and 1st grade for F. Wow. And the years keep flying by.
make


2/14/12

Things to Make - Heart Shaped Pastries for Valentine's Day

done

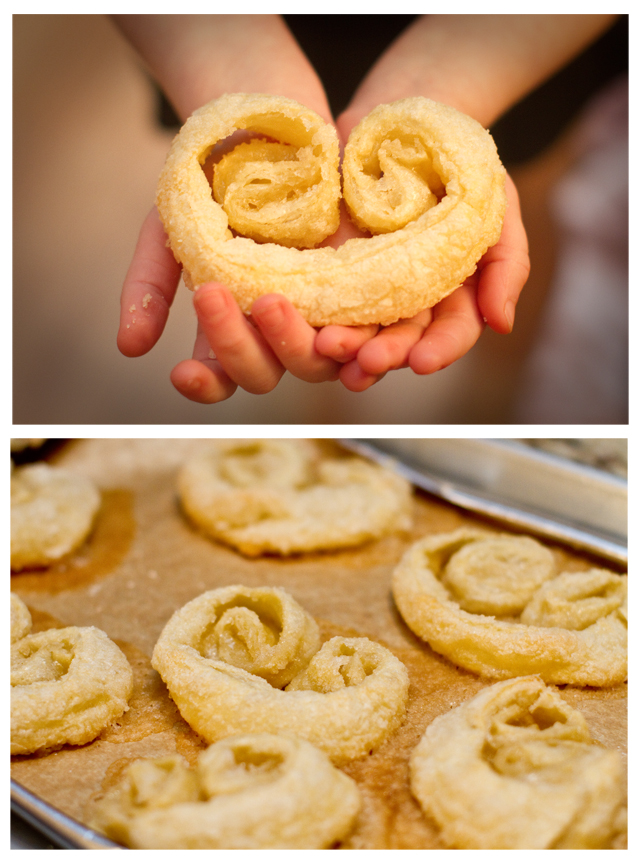
We've been making these a lot lately (I've stocked our freezer full of puff pastry). The cookbook (Williams-Sonoma Kids Baking, still my favorite kids' cookbook ever) calls them elephant ears, but that sounds less interesting than my title. The recipe is easy in that you don't need many ingredients and it has the perfect amount of steps to keep kids' entertained. Plus all the measurements can be approximated, making it hard to mess them up. So tasty.

Happy Valentine's Day everyone!!

HEART SHAPED PASTRIES:


Ingredients:
*3 tablespoons butter
*1/2 teaspoon vanilla extract
*1/2 cup sugar
*1/2 cup confectioners' sugar
*frozen puff pastry, 1 sheet, 9.5 inch square, thawed

1. Preheat oven to 375 degrees
2. Line 2 baking sheets with parchment paper OR grease with butter
3. Melt butter in a small saucepan over medium-low. Move to a heatproof service and add the vanilla.
4. Stir together the two sugars in a small bowl, set 1/2 cup of the mixture aside.
5. Sprinkle a cutting board with 3 tablespoons of the sugar mixture. Unfold the puff pastry on top of the sugar. Sprinkle more sugar on top of the pastry. Spread evenly with your hands.
6. Use a rolling pin to flatten the puff pastry to a 10x20 inch rectangle. After every few rolls, sprinkle the puff pastry with more sugar.
7. Brush the melted butter evenly over the pastry with a pastry brush. Sprinkle the reserved 1/2 cup of reserved sugar mixture over the pastry.
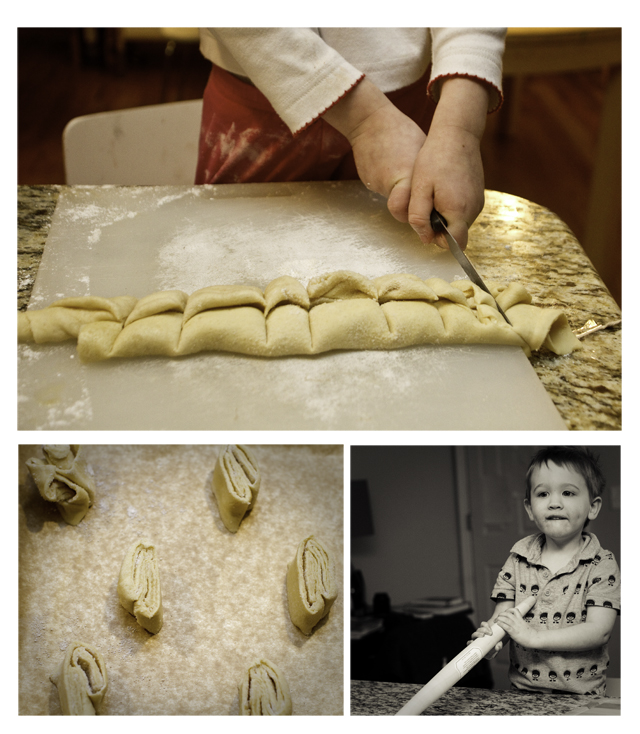
8. Fold the pastry - starting at one end, fold a 2-inch-wide band onto itself. Repeat folding until you reach the center of the pastry. Now fold the other end of the rectangle the same way. Fold one band on top of the other to form a long rectangle about 2.5 inches wide and 10 inches long.
9. Put the rectangle on a cutting board and slice into 1/2 inch thick slices. Place slices cut side down on the baking sheets.
10. Bake 15 minutes. If using parchment paper, let the pastries cool for 10 minutes then move to a rack. If using a greased baking sheet, remove the pastries from the sheet immediately and let cool on a rack.
11. EAT!!

make1

make2


1/31/12

Things to Make - S'more Bars

bar

roll

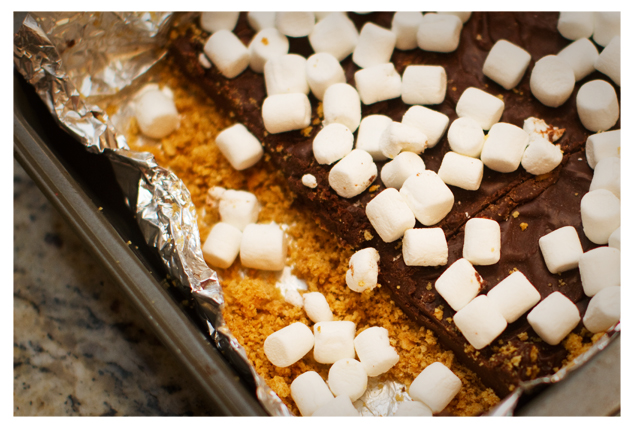
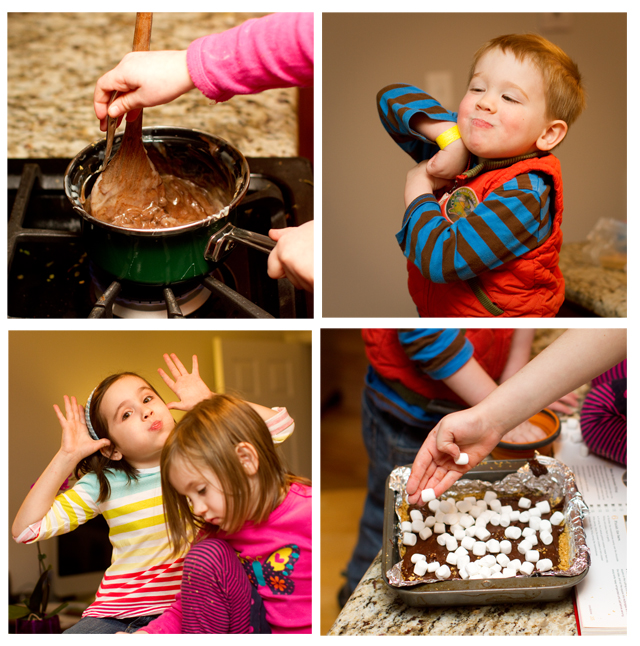
Lately we've spent a lot of our time after school cooking. F's often tired and fussy after a full day of kindergarten and cooking seems to provide a good "just got home" activity for her. We checked out Williams-Sonoma Kids Baking, the best kids' cookbook we've tried to date. I've almost committed the oatmeal cookie recipe to memory. One of our other favorites is s'more bars; the recipe contains lots of steps, so all three kids have something to do. And the final product is quite yummy, if I do say so myself.

What are you making? How do you deal with the "witching hours" of January? Any good suggestions?

S'more Bars

You'll need:
4 tablespoons butter
6 whole graham crackers
3/4 cup sweetened condensed milk
1 and 1/3 cup semisweet chocolate chips
1 and 1/2 teaspoons vanilla extract
1 pinch salt
1 cup miniature marshmallows

1. Line an 8 inch square baking pan with aluminum foil. Grease the foil with butter.

2. Melt the 4 tablespoons of butter in a small saucepan on medium-low heat. Let cool for 5 minutes.

3. Put the graham crackers into zippered plastic bags and crush into tiny pieces(we used our rolling pins - wow. we finally have rolling pins - but you could be creative with this step). Mix the crumbs with the melted butter.

4. Press the crumb/butter combo into a crust by placing your hands in plastic baggies and using your baggie-hands to coat the bottom of the pan.

5. Make the chocolate filling by heating the condensed milk and chocolate chips in a saucepan over medium-low heat until the chocolate is melted and the mixture is smooth. Remove from the heat and add the vanilla and salt.

6. Pour the chocolate filling over the graham cracker crust and spread evenly with a wooden spoon.

7. Scatter the marshmallows over the chocolate filling.

8. Cover and refrigerate for about 4 hours.

9. Eat.

stove

after

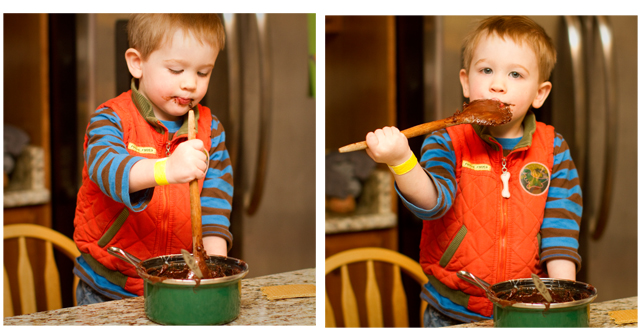
As always, the kids can't wait to lick the bowl after we finish. Usually F and P fight like crazy for the bowl, not sure how T won this round.

12/20/11

Things to Make - Christmas Cookies

box
The key is apparently mass quantities of butter.

roll

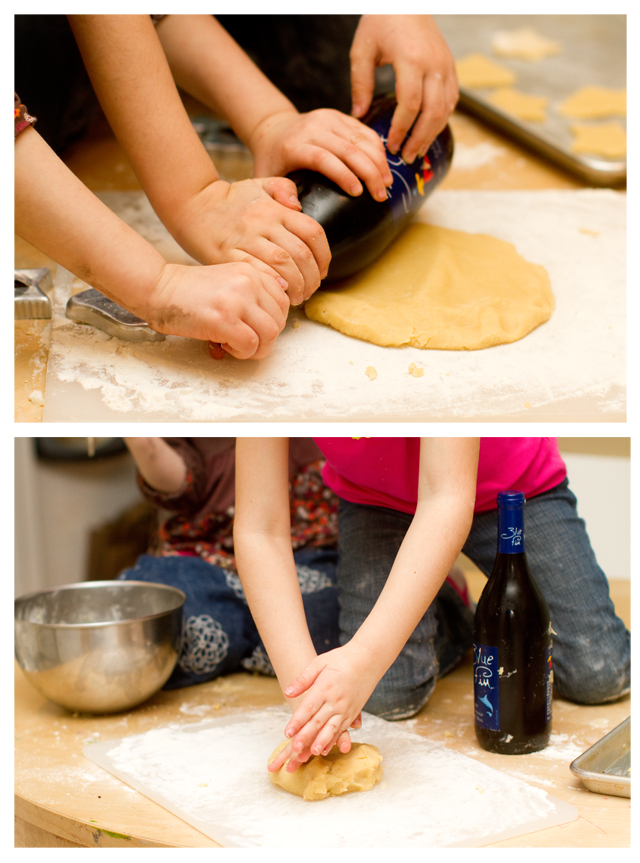
One of these days I'll buy a rolling pin. Hopefully.


Do you Pinterest? On one hand, Pinterest may be the most addictive site ever. You can lose hours, if not days. In the world of Pinterest, all thoughts/ideas/recipes/wonder becomes reduced to a single picture, epitomizing the idea that the outside really matters (not only are we judging books by their covers, most of the time we're not even bothering to read the book). And some days the whole Pinterest ideology seems so daunting. It doesn't matter if you're the best cook in the world, if you can't style food then forget it. And when it comes to children Pinterest creates a world in which everyone's offspring spend their days smiling in mini-Boden while their mom makes sandwiches beautiful enough to hang in an art gallery as they play with aromatic homemade playdough. Don't get me wrong, I'm not mocking perfect parenting. At all. I aspire. Boy do I aspire (to what? I'm not sure, but that's a whole other post). I recently photographed homemade soap against a white background, I have no room to judge (and, yes, my photos were pinned!! yay me!!).

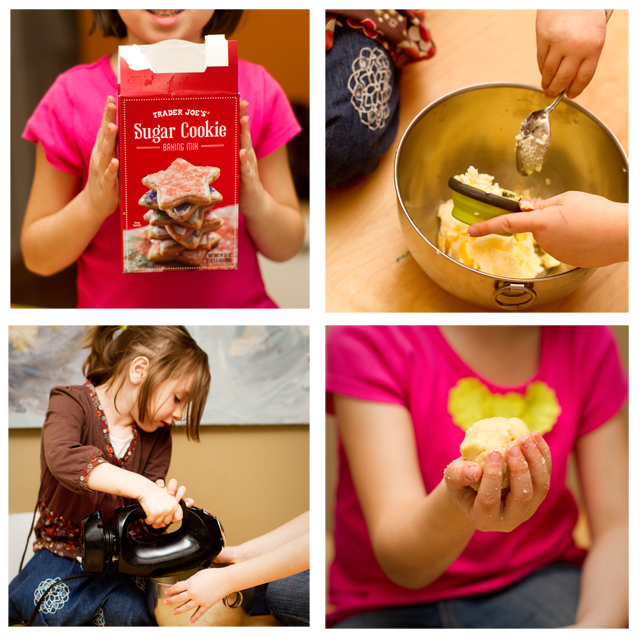
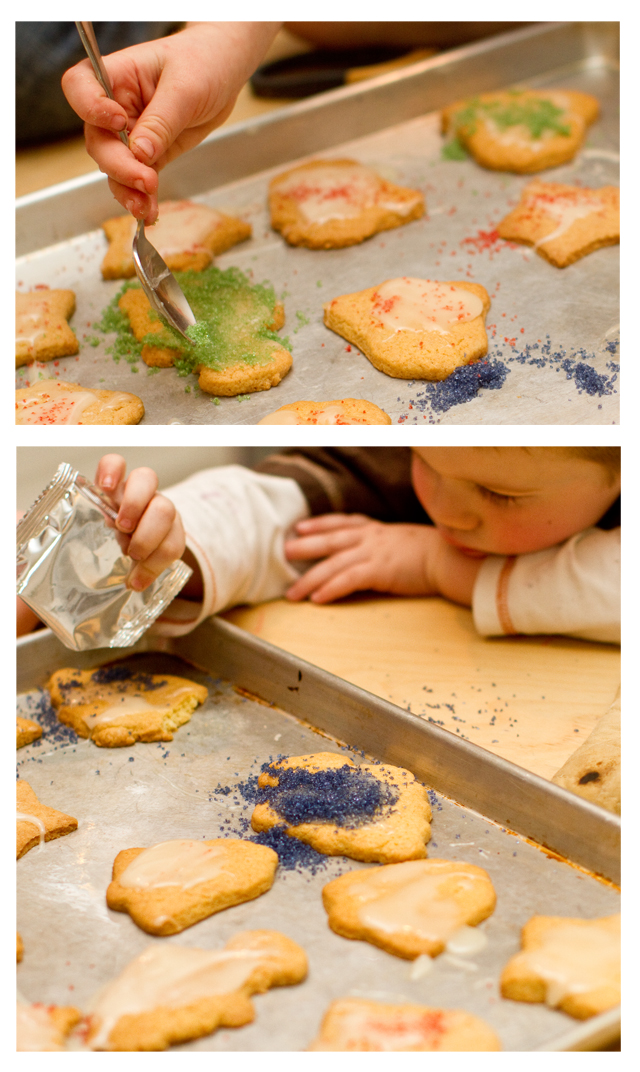
Anyways, I've written before about how I can't make cookies. And browsing through the perfect cookies on Pinterest only discouraged me more. So, while shopping at Trader Joes, I picked up a box of Christmas Cookie mix, packaged with sprinkles and frosting. We had so much fun that I've already purchased another - incredibly yummy - box. F might even have a future in baking. So I know this is a lame post. No family recipe. No new insights. Even the pics are just okay. Totally unpinterestable. But I'm okay with that. Because parenting isn't about perfection, it's about showing up. Even with a premade mix.

(And yes, if you're wondering, I borrowed that whole "parenting is showing up" line from Modern Family, my current source for words of wisdom, along with and Pinterest, of course.)

girls

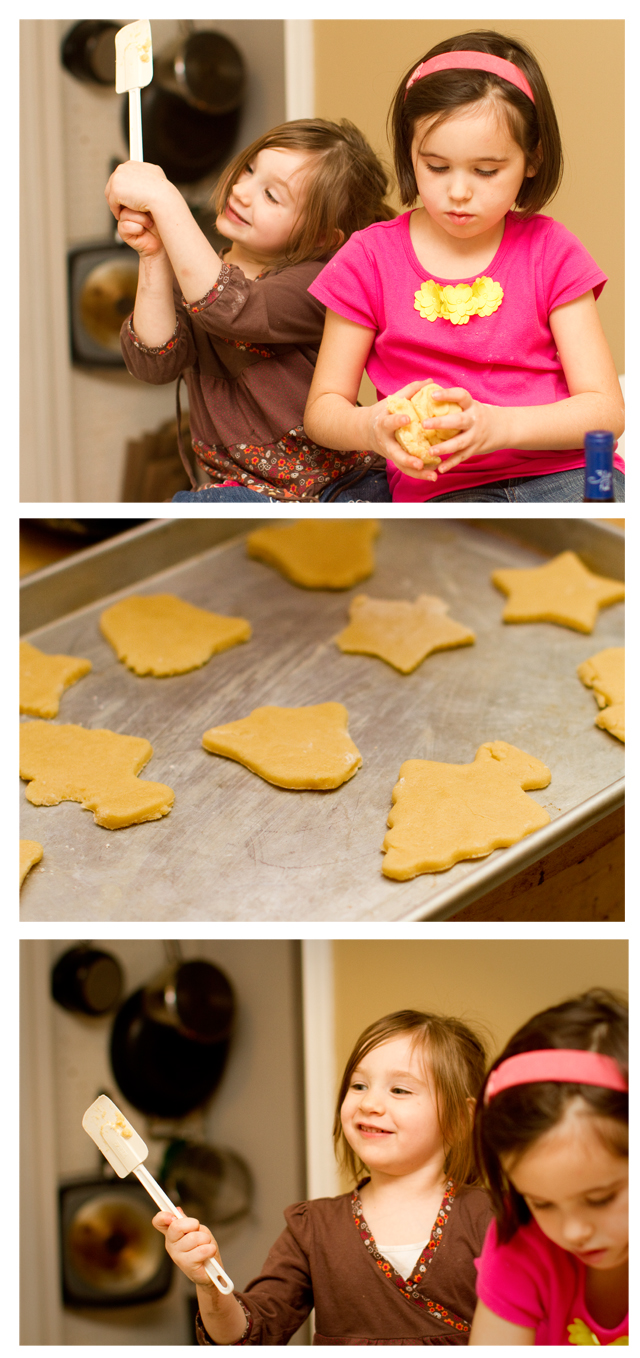
The girls work well together, despite the fact that F's so serious and P's so not.

sprinkle

T woke up in time to sprinkle. Trust me, they taste MUCH better than they look.


10/4/11

Things to Make - Apples, Lots of Apples

themachine

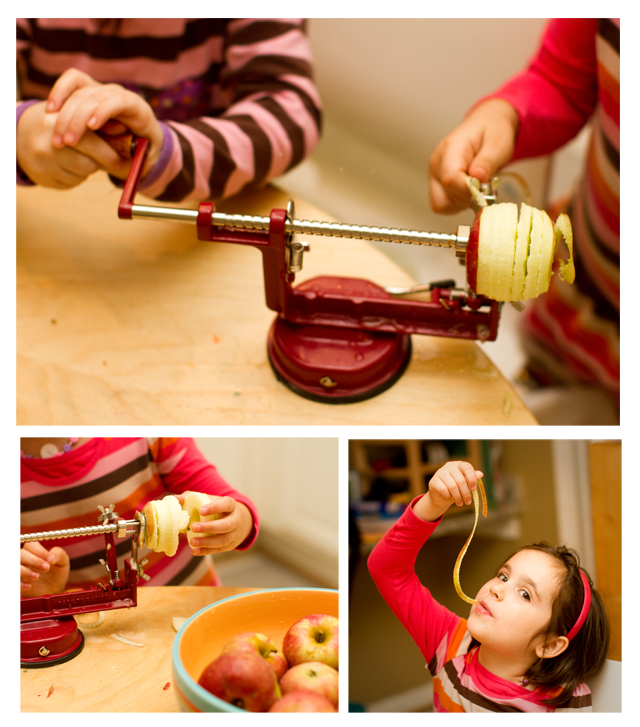
As soon as we returned from Stribling Orchard, Dan and I looked at each other and said basically the same thing at the same time - "wow, that's a LOT of apples." In the orchard, it didn't seem like we had THAT many, but once the bags occupied most of our kitchen, we felt overwhelmed. So Dan hopped in the car and drove to Williams-Sonoma to purchase a corer/peeler/slicer thingy. And thus began our week of apples. Luckily, all three kids loved taking turns on the apple peeler, so our kitchen was fully-staffed. And the girls couldn't stop eating the pencil-thin strands of peel, I think they liked these better than all the apple recipes we tried.

Here's what we've made so far:

EASY APPLE CRISP (recipe include in the instruction manual for the peeler)

*5-6 cups apples (peeled, cored, and sliced)
*3/4 cup unsweetened apple juice concentrate, thawed
*2 tbs. flour
*1/2 cup rolled oats
*1/4 cup all purpose flour
*1/2 cup brown sugar
*1/4 tsp. cinnamon
*1/4 tsp. nutmeg
*1/4 cup butter

Stir together the apples, apple juice concentrate, and 1 tbs. flour. Place in a 9 x 13 baking dish.
Mix together the remaining ingredients and sprinkle over the filling. Bake at 375 degrees (190 degrees C) for 35 to 40 minutes.

begin

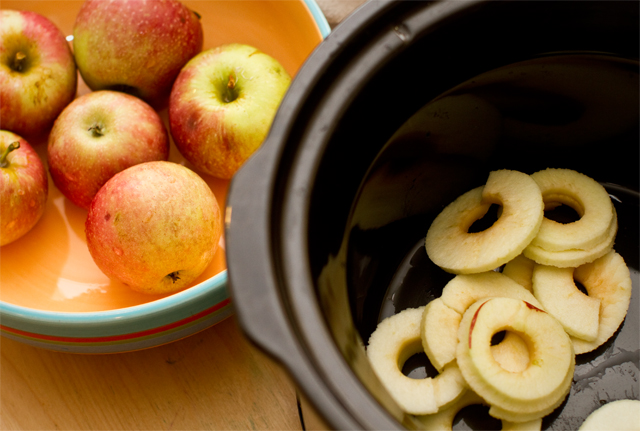
SLOW COOKER APPLESAUCE (recipe from P's preschool teacher)
*8-10 apples (peeled, cored, and sliced)
*1/2 cup water
*1 teaspoon cinnamon
*1/2 cup sugar.

Cook on HIGH for 3 to 3.5 hours or until apples are falling apart.

baked

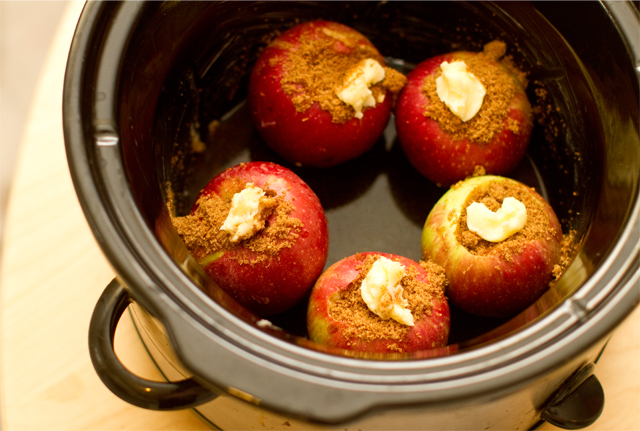
SLOW COOKER BAKED APPLES(recipe from Not Your Mother's Slow Cooker Cookbook (NYM Series))

*6 large baking apples
*2/3 cup brown sugar
*1/2 teaspoon ground cinnamon
*2 tablespoons butter, cut into 6 small pieces
*1/2 cup apple juice

Grease the crock pot with butter. Remove apple cores leaving 1/2 inch of flesh at the bottom. Mix cinnamon and brown sugar and pack into the apple cores. Arrange apples in cooker, right side up. If necessary, stack apples on top of each other, offset the stack apples so they aren't squarely on top of each other. Place butter on each apple and sprinkle with left over cinnamon and brown sugar mix. Cook on HIGH for 2.5 to 3.5 hours, until apples are slightly soft but not mushy.
______________

We still have about 1/4 bushel left, any recipe suggestions? I'm running out of steam.

9/20/11

Things to Make - Strawberry & Cream Muffins

final

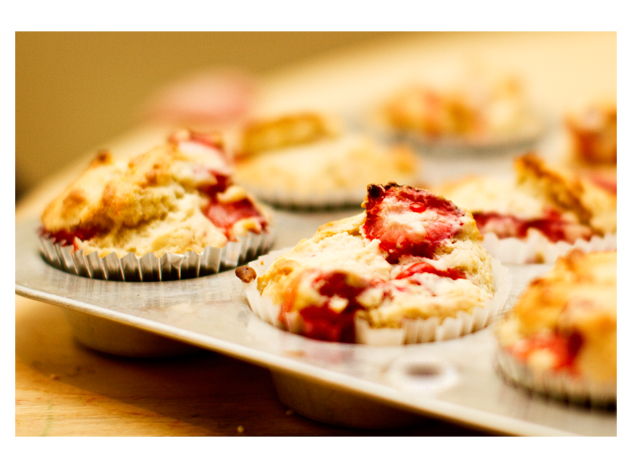
Lately the kids have been more interested in cooking than in craft projects, so the other day we made strawberry & cream muffins, which turned out quite yummy. At least we thought so.

The recipe is from the book 1 Mix 100 Muffins (1 = 100!), which has a LOT of great ideas and combinations.
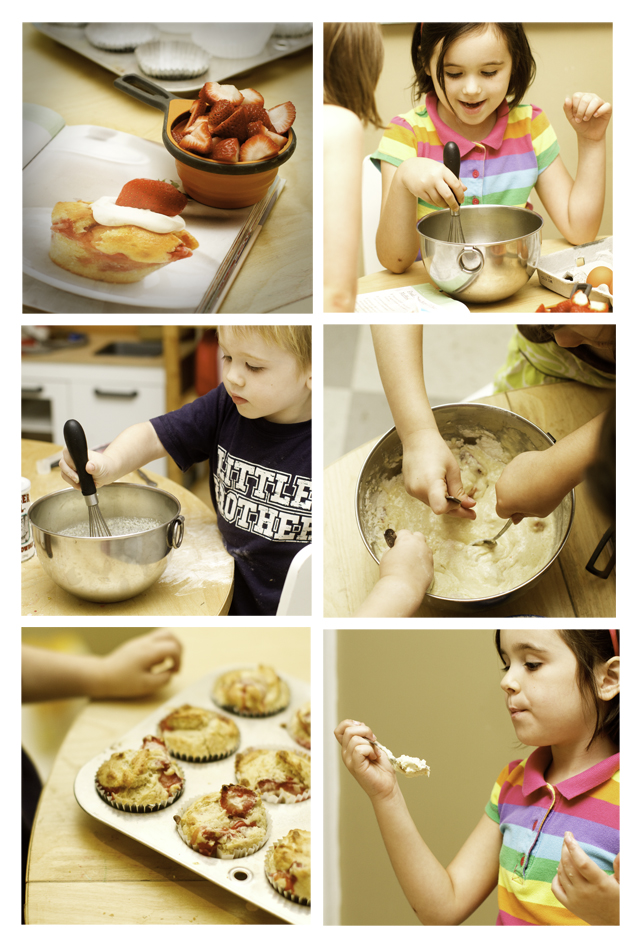
INGREDIENTS (for 12 muffins):
*1 cup chopped strawberries (fresh or frozen)
*2 cups all purpose flour
*1 tbsp baking powder
*1/8 tsp salt
*1/2 cup sugar
*2 eggs
*1 cup light cream
*6 tbsp melted butter
*1 tsp vanilla extract
*1/2 cup heavy cream

DIRECTIONS:
1. Preheat oven to 400 degrees F (200 degrees C). Line 12 count muffin pan with liners.
2. Sift together the flour, baking powder, and salt. Stir in sugar and chopped strawberries.
3. Beat the eggs, then add in the light cream, butter, and vanilla extract. Make a well in the center of the dry ingredients and pour in beaten ingredients. Stir until combined, don't overmix.
4. Spoon into muffin pan. Bake approximately 20 minutes, until well risen and golden brown.
5. While muffins cool, whip heavy cream until stiff. Once muffins are cold, top each one with a dollop of cream. Chill in refrigerator until ready to serve.

bake

10/12/10

Things to Make Tuesday- Chewy Oatmeal Blondies

bigcomp

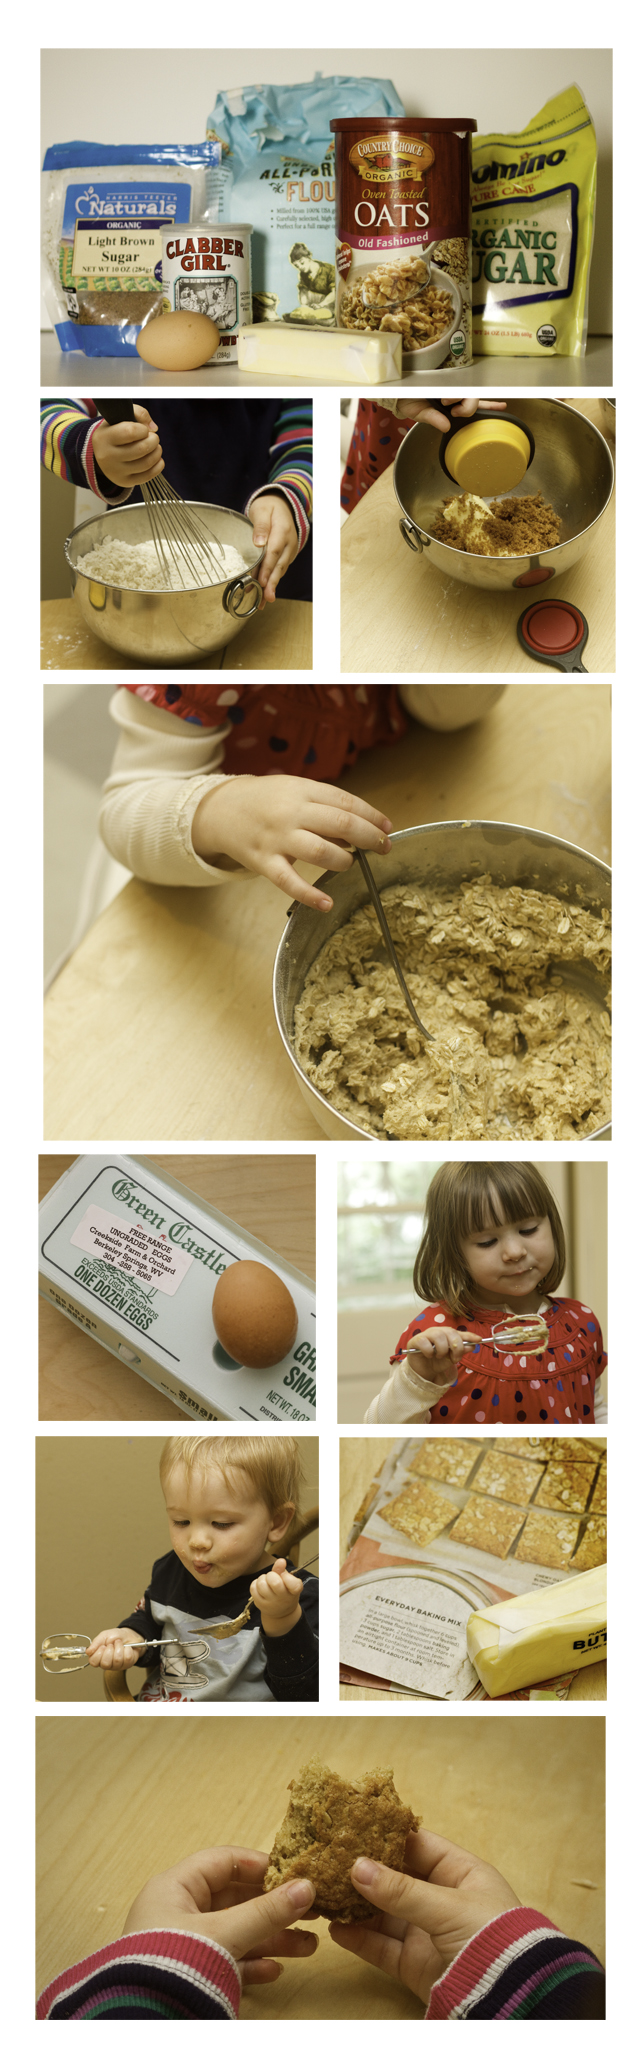
As I've mentioned, I'm not a huge baker, but when fall comes around it always feels nice to turn the oven on and "create" something. I've learned that, with kids, the best recipes have MULTIPLE EASY steps. This way both F & P stay entertained. One of our favorite cookiesque recipes is Martha Stewart's Chewy Oatmeal Blondies. Luckily the recipes calls for Everyday Baking mix, so one child can mix this, while child number two combines butter and sugar and coats the pan. Two children proudly at work. So convenient. After we mix everything, everyone (including the baby) has a spoon or beater to lick. And, if we make enough of the baking mix ahead of time, I have a backup treat for playdates and rainy days that I can throw together in minutes. So easy. And yummy.

LinkWithin

Related Posts Plugin for WordPress, Blogger...