Showing posts with label marbleized paper. Show all posts

9/24/13

Things to Make - Suminagashi Marbleized Paper (which sounds fancier than it is)

top

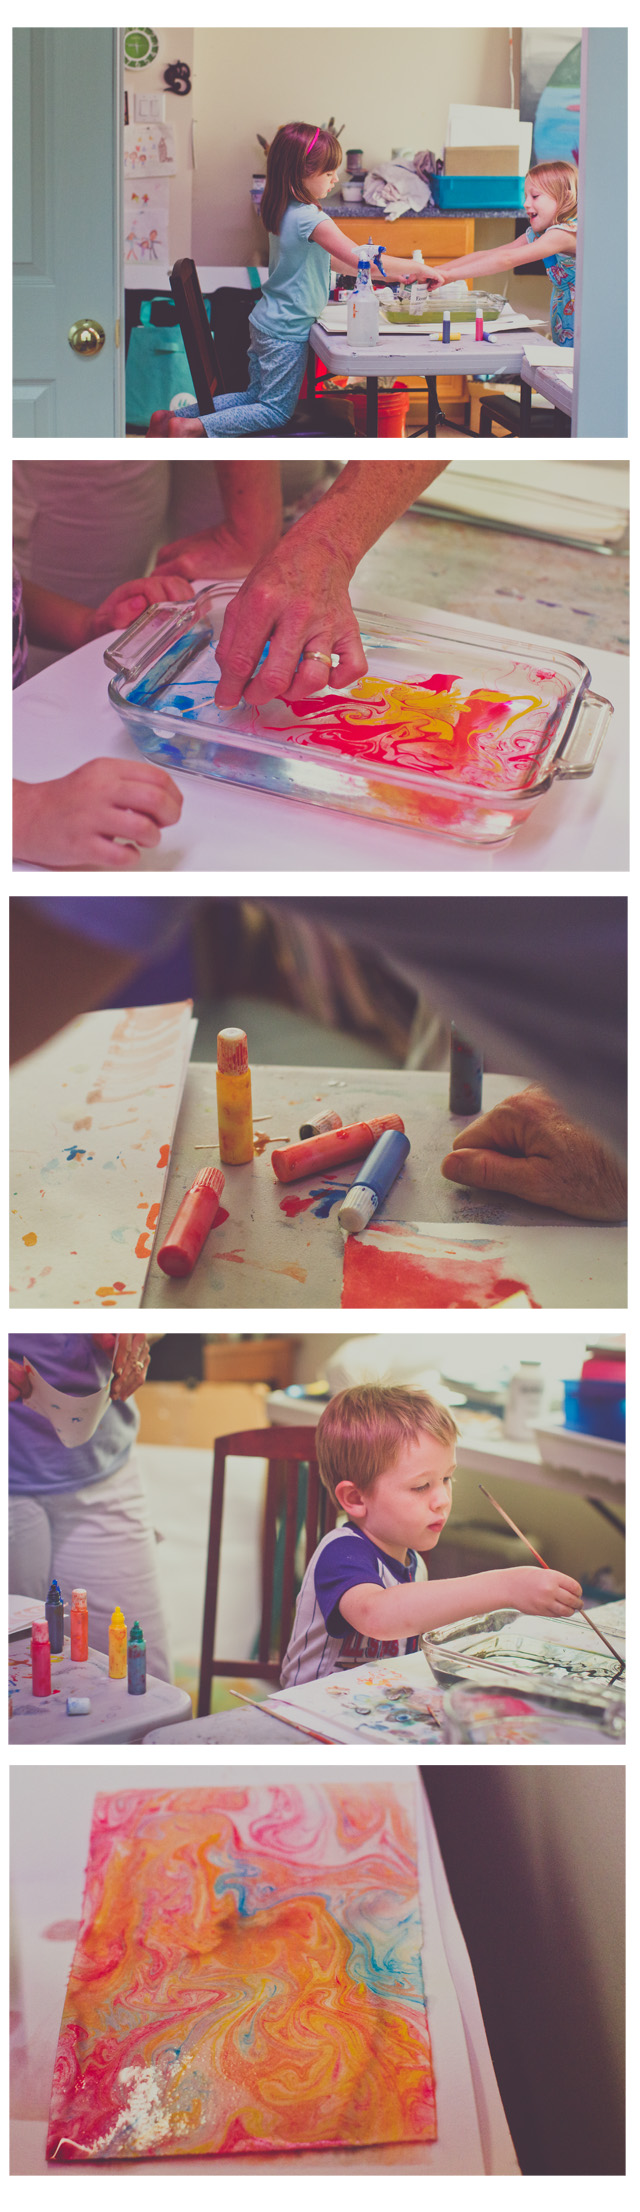
This summer, my mother-in-law bought a suminagashi marbling kit (similar to this one, which only costs $13.50) and all the grandkids couldn't stop using it.

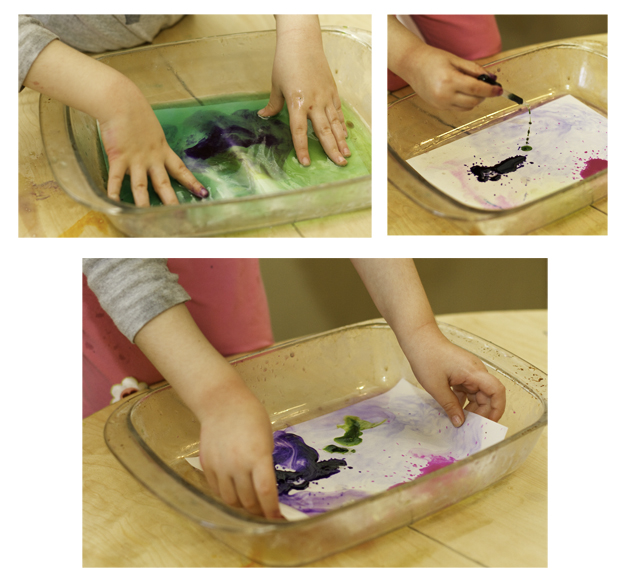
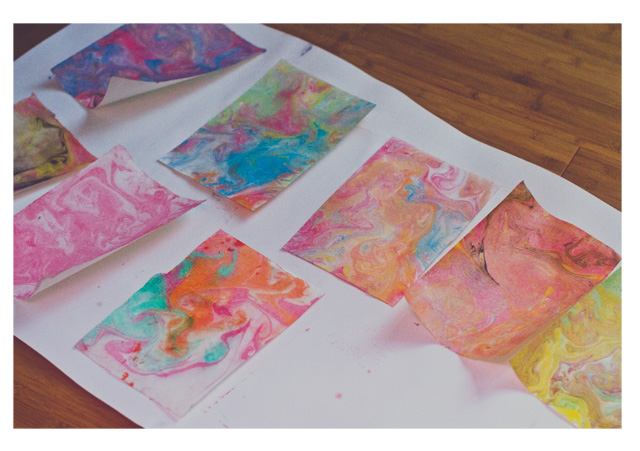
This activity is so simple that even T didn't need much help (though be careful, the dyes stain). All you have to do is add a few drops of the suminagashi (what a word) paint to a pan of water, then swirl the paint with a chopstick or barbeque skewer. Dip a sheet of watercolor paper into the water and the results are absolutely gorgeous. When you want to make a new design you don't even need to change the water in the pan, instead just use a strip of newspaper to soak up the old colors. Easy peasy.

Of course, now I need to figure out what to do with over 50 sheets of marbled paper. Make greeting cards? Wrap very small presents?

I think this would be a great activity with a large group of kids, as you're pretty much guaranteed beautiful results and the set-up isn't very complicated.

If you don't want to invest in the suminagashi dye, we've also marbled with:
* Shaving cream and water colors AND
* Oil and water colors

(both of which are messy, but also very fun).

HAPPY TUESDAY!! What have you been making lately? I'd love to hear.
make

1/18/11

Things to Make - Marbleized Paper w/Shaving Cream

both

Last week I posted about making marbleized paper with oil and watercolors. The kids loved it so much that I figured I'd attempt another marbleized project, this time with shaving cream. Shaving cream induced marbleization is all over the web (for both kids and adults), I think I first learned of the technique a few years ago while reading a magazine in the doctor's waiting room. I googled for a refresher and found this tutorial on WikiHow.

On the upside, both girls really seemed to like this project (almost, but not quite, as much as marbleizing with oil). P, in particular, loved the feel of working with shaving cream (which is pretty normal, according to A Passion for Play occupational therapists frequently use shaving cream for working - and playing - with kids. And A Passion for Play suggests different activities to try with shaving cream). Plus, the resulting papers were quite lovely (if I do say so myself). On the downside, the smell of shaving cream (especially in a small kitchen) was a little overwhelming (to put it mildly). And all the paper ended up smelling like shaving cream, making it an odd choice for gift giving.

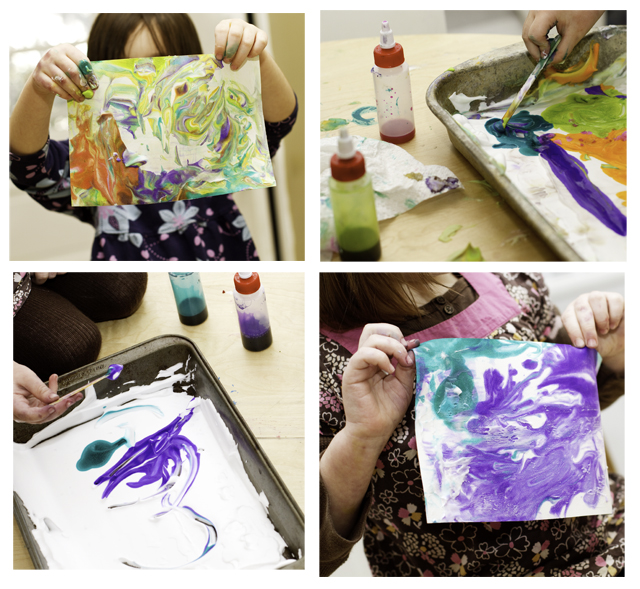
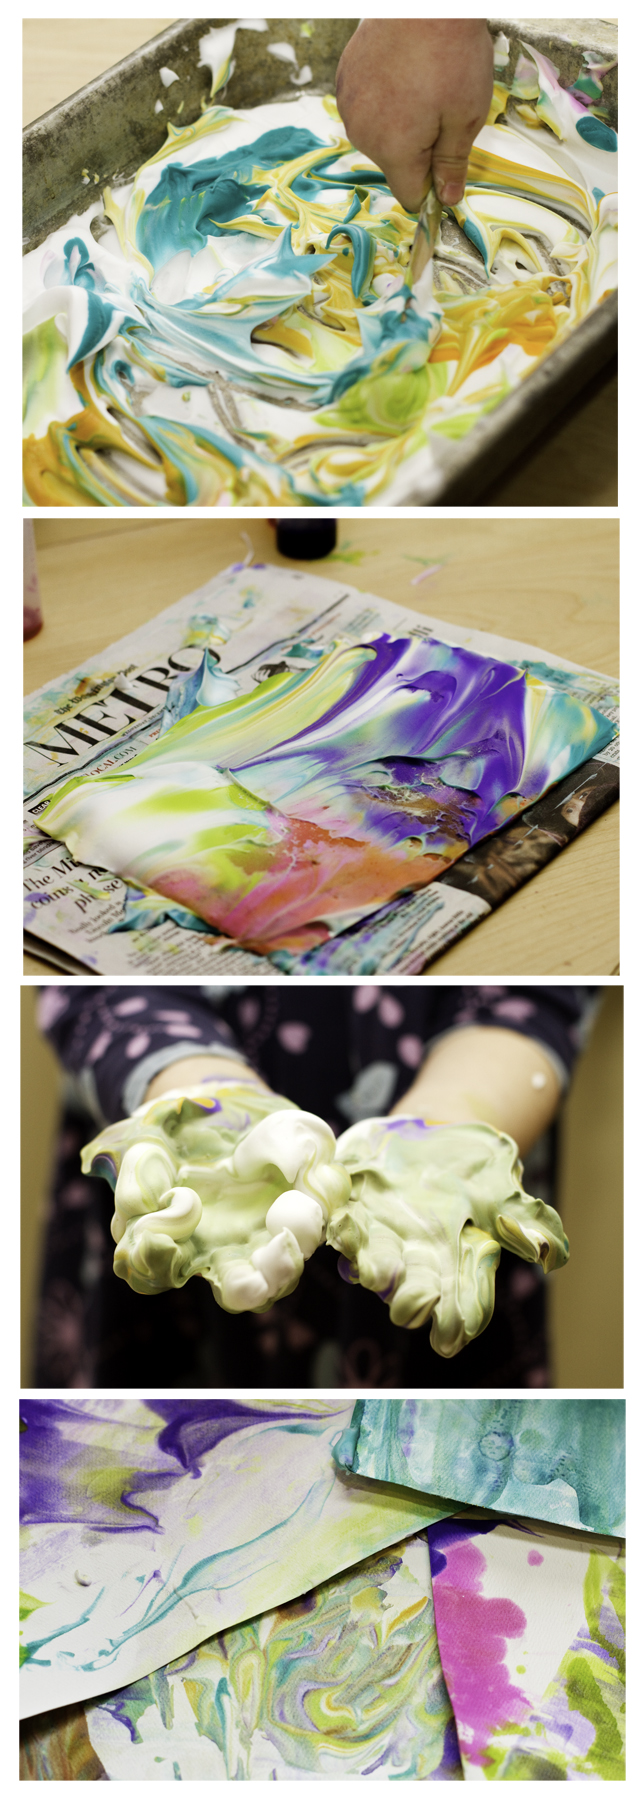
Here's the scoop: You need - a pan, shaving cream, liquid watercolors or food coloring, a squeegee (or anything flat, like a CD case or even a hard piece of cardboard), and popsicle sticks or forks.

1. Squirt the shaving cream into the pan and use the squeegee (or squeegee equivalent) to make it level and even.

2. Squirt the liquid watercolors (or food coloring) into the pan (on top of the shaving cream). I put the liquid watercolors in several small little bottles (click here to see the ones we used) to make it easier for the girls to handle.

3. The girls used popsicle sticks (but forks would also work) to push the paint around in the shaving cream. This was actually really pretty (well, until they used too much paint and everything turned grey).

4. Place a piece of paper on top of the now colored shaving cream.

5. Scrape the shaving cream off of the paper with the squeegee, a marbleized pattern will remain on the paper.

shavingcream

1/11/11

Things to Make - Marbleized Paper w/ Oil and Watercolors

finalhold

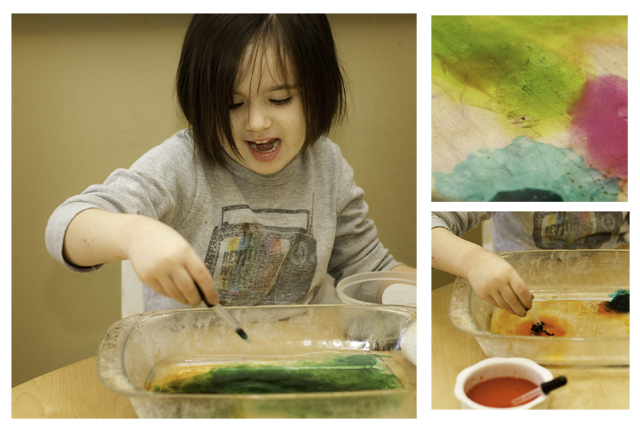
When I read about this project on Tinker Lab, the beautiful photos made me want to try it with my own kids. On the upside, F called it her "favorite craft project ever" (yes, this means we did it again and again throughout the week) on the downside oil is well, sort of oily. Oh well, it's not like we've never trashed the kitchen table before. Here's the scoop:

stuff

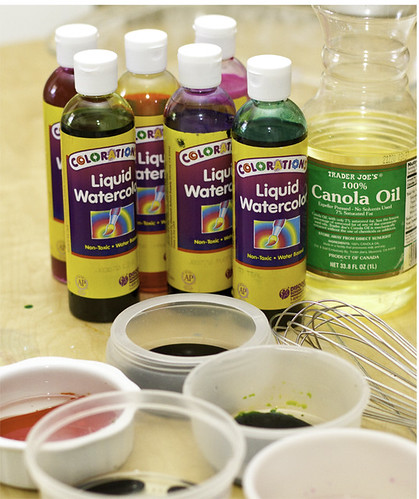
You'll need - oil, liquid watercolors (or food coloring), a pan, paper (watercolor paper works best if you have some), small cups to mix the paint, and eyedroppers.

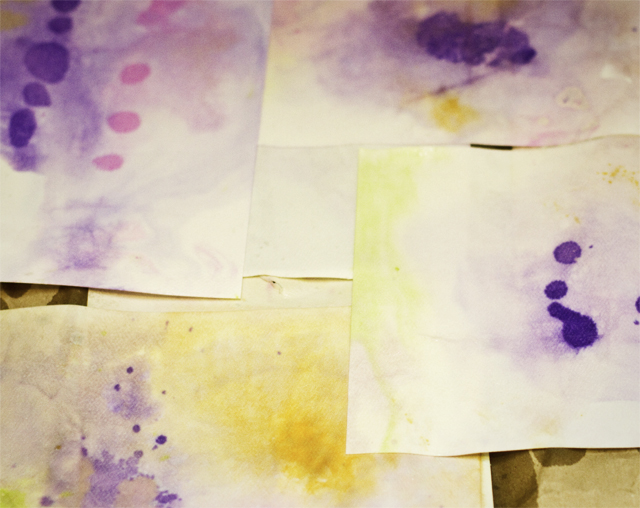
1. Mix 1/2 tsp of oil (we used Canola oil) with 1 tsp of liquid watercolor (or food coloring) in each of several bowls (one for each color). DON'T BE LAZY as this is the most important step. Whisk, whisk. whisk. I (of course) was lazy and barely mixed them, hence the resulting papers look like someone accidentally stained them with oil (oh well, it's the process, right?)

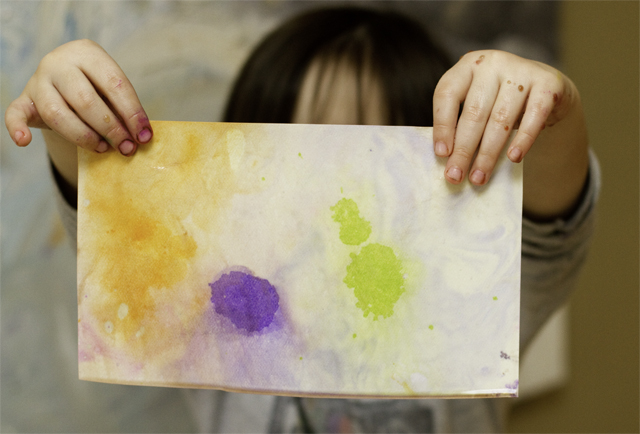
2. Fill the bottom of a pan with a small amount of water (not too much, you can always add more) and squeeze the paint (using droppers) into the pan. We used these droppers (recommended by Tinker Lab), which were easy for the girls to handle. The oilpaint makes "splotches" in the water, that are quite pretty. Even if you don't have paper, the girls had a great time just making water splotches.

fun

3. Place paper on top of the oil-splotched water and let it soak up the colors. Make sure to have a large space where the paper can dry.

three

The girls loved this activity. Plus the vibrant colors helped brighten up the winter blahs. Hope everyone is having a good week - make sure to check in next Tuesday for new way to make marbleized paper.

end

LinkWithin

Related Posts Plugin for WordPress, Blogger...