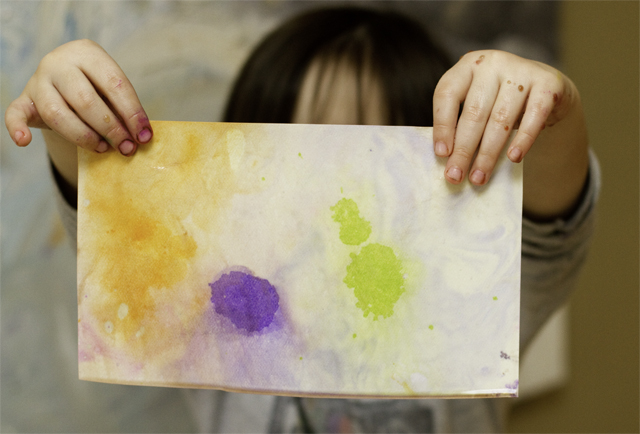
When I read about this project on Tinker Lab, the beautiful photos made me want to try it with my own kids. On the upside, F called it her "favorite craft project ever" (yes, this means we did it again and again throughout the week) on the downside oil is well, sort of oily. Oh well, it's not like we've never trashed the kitchen table before. Here's the scoop:
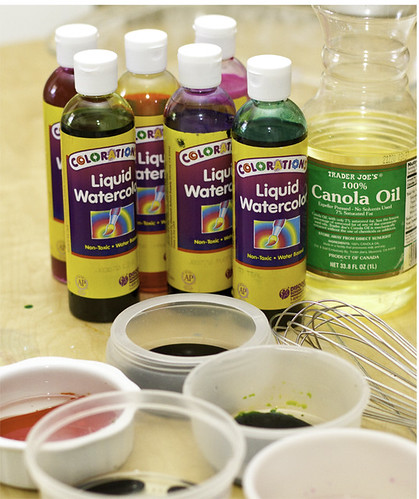
You'll need - oil, liquid watercolors (or food coloring), a pan, paper (watercolor paper works best if you have some), small cups to mix the paint, and eyedroppers.
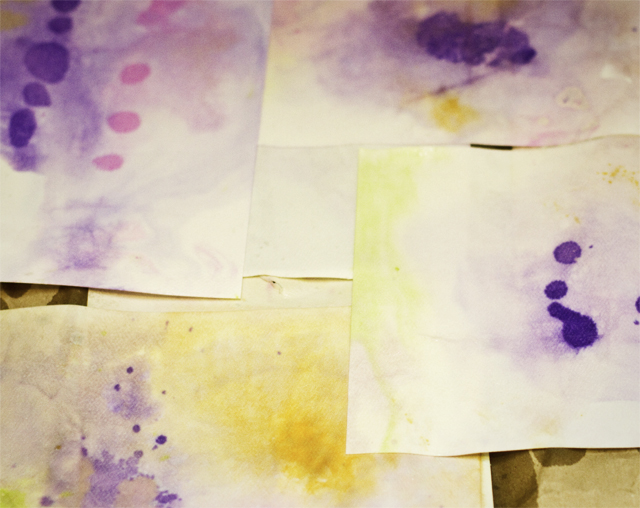
1. Mix 1/2 tsp of oil (we used Canola oil) with 1 tsp of liquid watercolor (or food coloring) in each of several bowls (one for each color). DON'T BE LAZY as this is the most important step. Whisk, whisk. whisk. I (of course) was lazy and barely mixed them, hence the resulting papers look like someone accidentally stained them with oil (oh well, it's the process, right?)
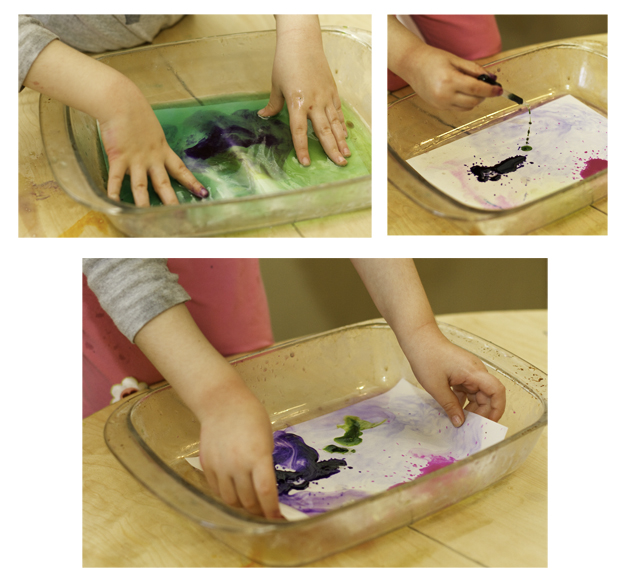
2. Fill the bottom of a pan with a small amount of water (not too much, you can always add more) and squeeze the paint (using droppers) into the pan. We used these droppers (recommended by Tinker Lab), which were easy for the girls to handle. The oilpaint makes "splotches" in the water, that are quite pretty. Even if you don't have paper, the girls had a great time just making water splotches.
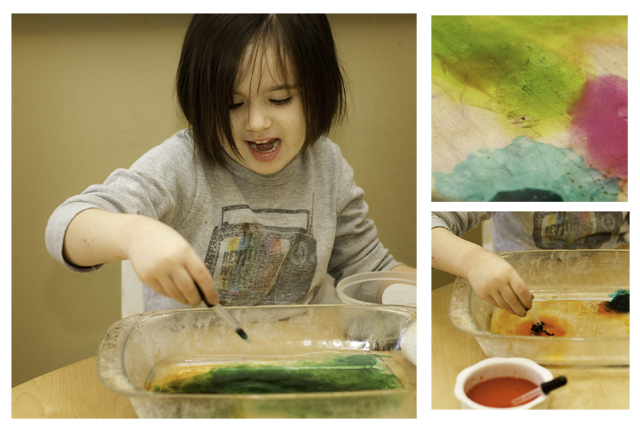
3. Place paper on top of the oil-splotched water and let it soak up the colors. Make sure to have a large space where the paper can dry.
The girls loved this activity. Plus the vibrant colors helped brighten up the winter blahs. Hope everyone is having a good week - make sure to check in next Tuesday for new way to make marbleized paper.
Hi Darcy! Favorite craft project ever -- wow! How old is F? I love the pictures and can't wait to see your next marbleized paper project!
ReplyDeleteF is 5, thanks for asking and P is 4. They loved it! Thanks so much for the idea!
ReplyDelete