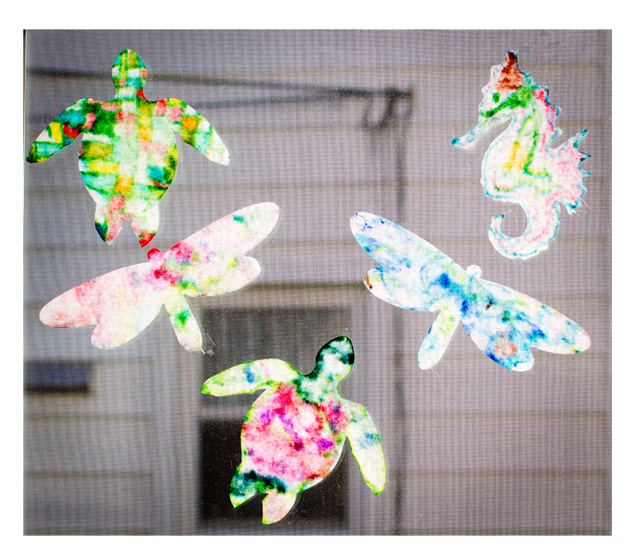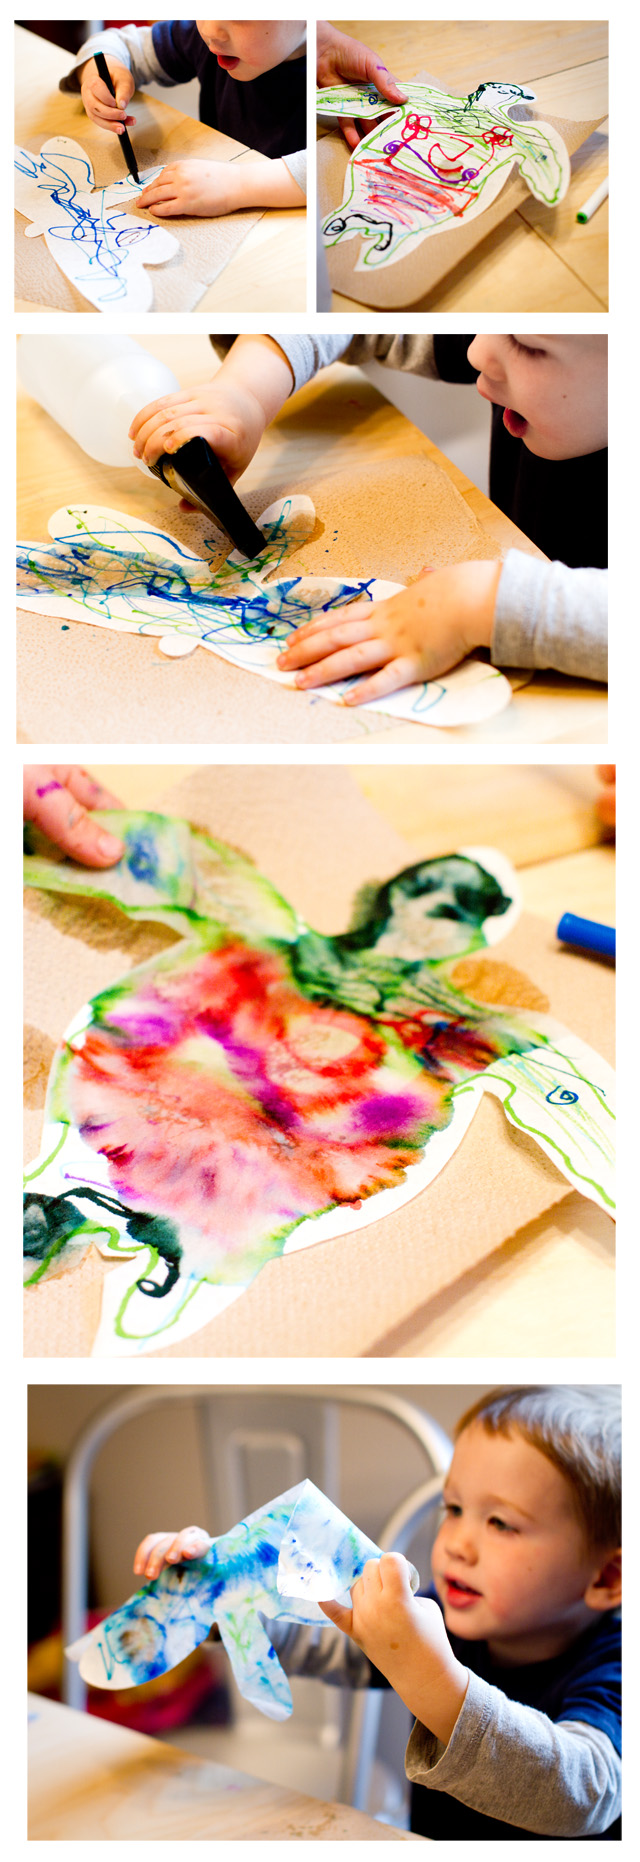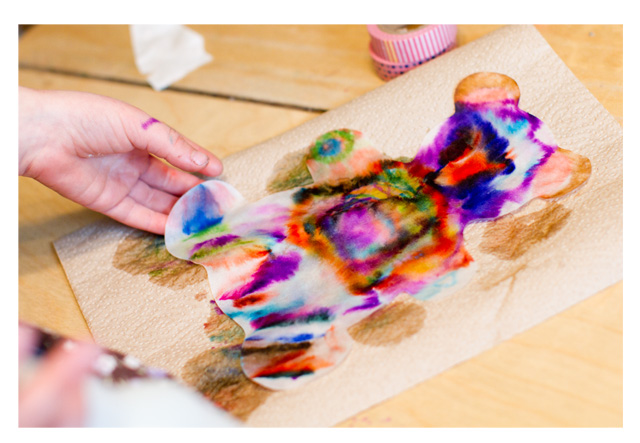
When I read about using tissue paper and liquid starch to make stained glass on
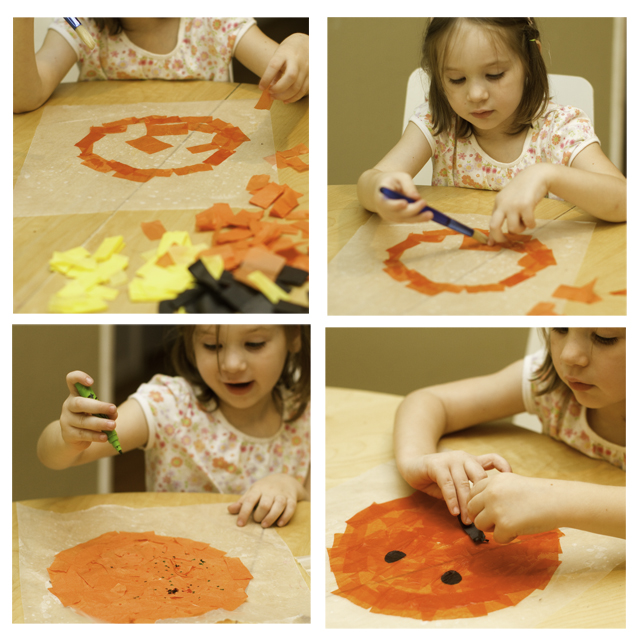
the Artful Parent I decided it would be the perfect method for crafting Halloween decorations. I bought black, orange, and yellow tissue paper at AC Moore, poured some liquid starch into an clean old yogurt cup, gave P a paint brush and let her create. P decided she wanted to make a pumpkin, so we worked together on creating the circle. I thought it would be cute to use the black tissue paper to make the face but P stated that jack-o-lantern faces looked "too scary." So she decided to let it dry and color on her pumpkin with markers.
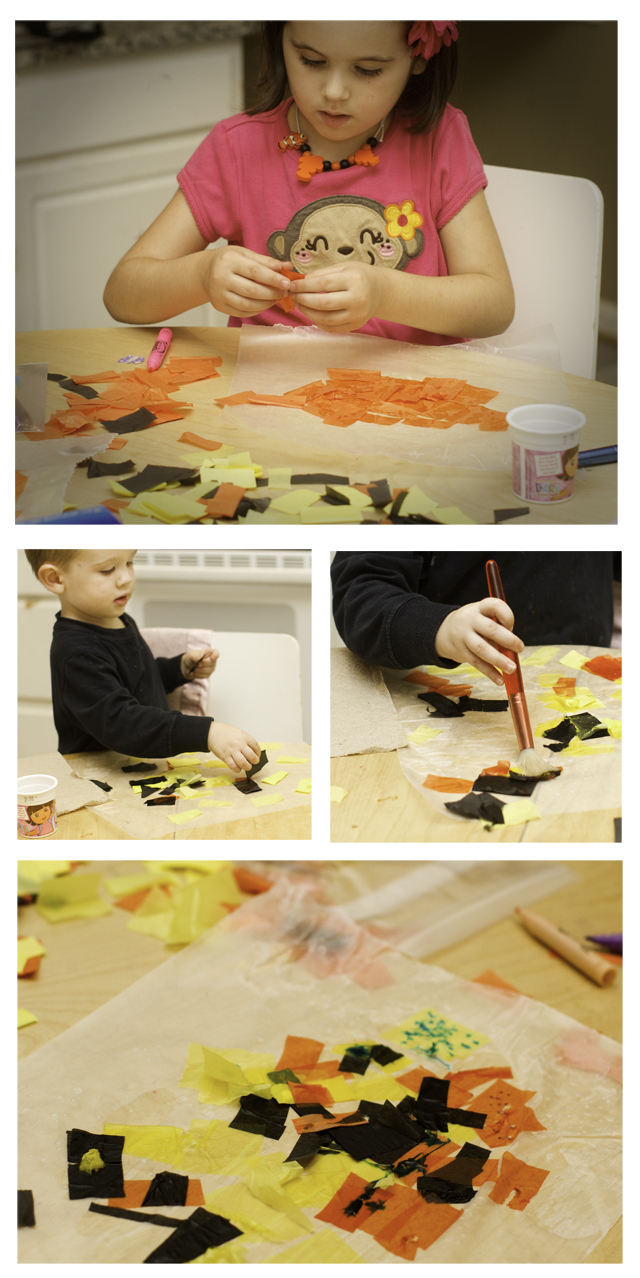
When T woke up and F returned from kindergarten they really wanted to make their own creations. I was pretty impressed that this project was so toddler-friendly, T spent over a half hour making a collage with not that much parental involvement. F made a pumpkin and a collage. She also liked coloring with markers on the still-wet tissue paper and watching the color swirl. All in all a pretty easy way to fill an afternoon. And now we're prepared for Halloween.
Here's the scoop: You'll need: liquid starch, tissue paper, wax paper, and paint brushes.
1. Buy liquid starch at the grocery store. Pour a small amount into a container.
2. Cut tissue paper into small pieces.
3. Using a brush, "paint" a small amount of liquid starch onto the wax paper (you may want to put newspaper underneath the paper, it gets messy fast).
4. Arrange tissue paper on the wet wax paper then paint over the tissue paper with more liquid starch.
5. Let dry.
6. Hang in windows. Lovely!!
 CREATIVE IDEAS FROM AROUND THE WEB:
*LOVE these
DIY popsicle-stick magnets for the fridge.
*
Leaf printing on fabric from the Artful Parent.
*
This pinterest collection has TONS of great project ideas. Check it out. Also, I have a fall craft project Pinterest collection - click
here to view it.
*
A face sticker pad!! I need to purchase some of these. This looks like a great activity for a wide variety of ages.