I've wanted to try saran wrap painting ever since Not-So-SAHM posted about it. Luckily (or perhaps, unluckily) we've had enough cold rainy days lately that the opportunities for indoor entertainment keep presenting themselves to us. So on one such day, we gave it a try.
Here's the scoop:
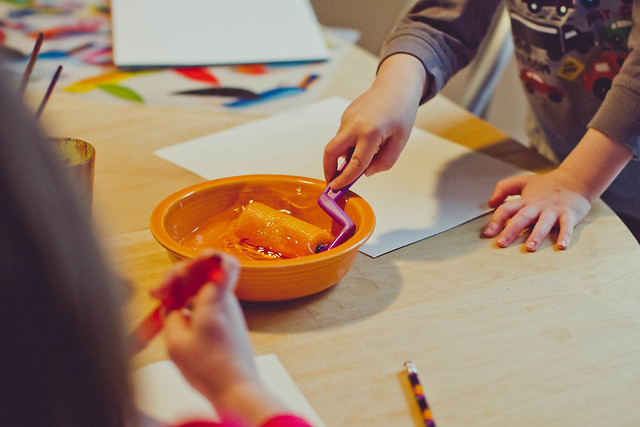
Materials: HEAVY watercolor paper (the heavier the better), watercolor paints, saran wrap, and sponge roller (optional)
1. For this to work the paper has to be wet. Since T's obsessed with sponge rollers lately, I let them use these. Though in retrospect they made the paper a little too wet.
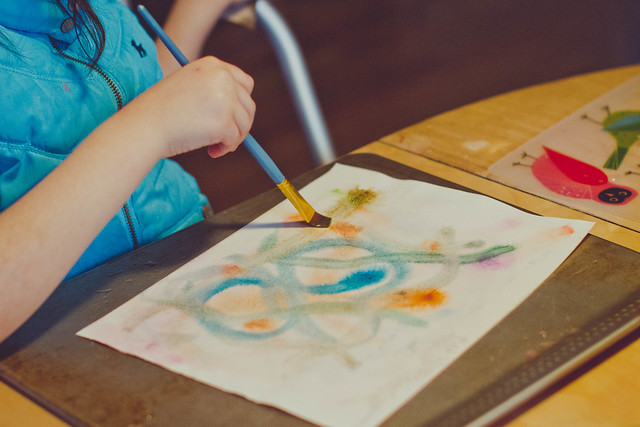
2. After wetting the paper, paint designs using the watercolors. All three kids loved this part, as the color really swirls and moves on the paper.
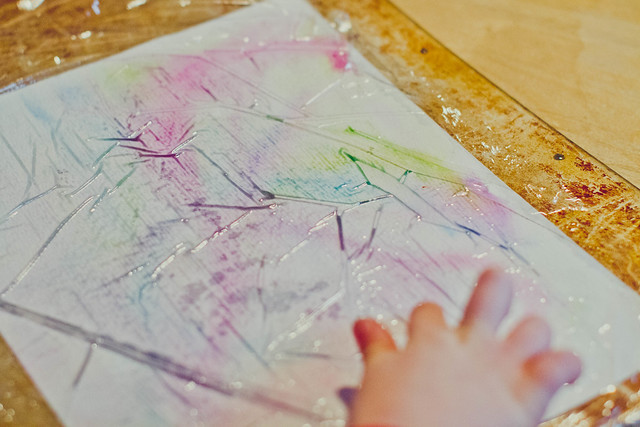
3. Place saran wrap over the wet painted paper and move the saran wrap with your fingers to make patterns on the paper.
4. Once you're satisfied with your pattern, LEAVE THE SARAN WRAP ON, while the paper dries.
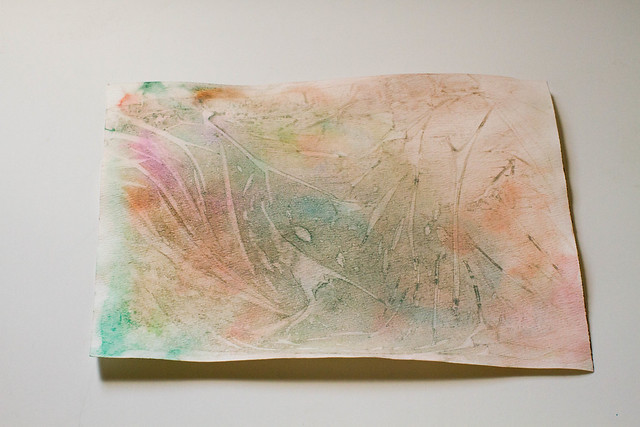
5. Once everything dries, peel off the saran wrap and Voila! Beautiful designs.
On the upside, the kids LOVED this project, especially working with all the water. On the downside, the water caused the paint to loose its vividness, so everything came out really pale looking. I'm not sure how to correct this, any suggestions?
No comments:
Post a Comment