
Lots of printmaking ideas have circulated the blogosphere lately. I read about q-tip printmaking on Under the Pecan Tree and figured this activity would work well with all three kids, even almost-three-year old T. On the upside, the kids loved creating pictures in the paint and getting messy. On the downside, only P's prints turned out. P also kept her paint layer the thinnest, so I think that's the trick. Eventually the whole project turned into finger painting, which was fine with me.
Here's the scoop:
1. Use a roller brush to THINLY spread paint on a long pan (we used Biocolor Paint, after hearing so many wonderful things about it from Not-So-SAHM).
2. Draw a picture in the paint using q-tips
3. Press a sheet of paper (we chose heavy watercolor paper) onto the picture
4. Voila! you have a print.
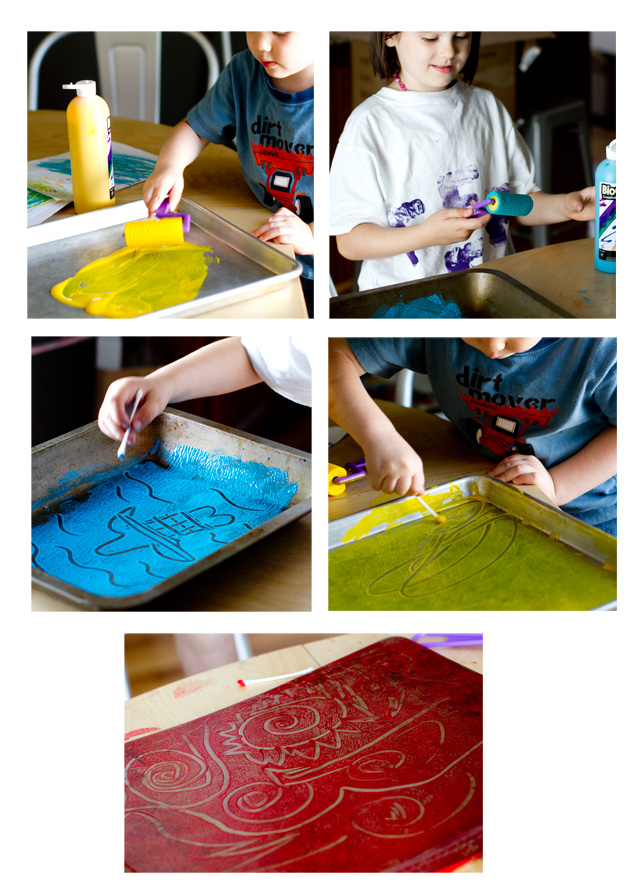
The great part about this project is that you can keep reusing the same paint and pan - just roll over your last design and start a new one.

Fun! Great activity for all three kids to get involved. Thanks for sharing.
ReplyDeletehelpmegrowutah.blogspot.com
Great that you tried it too! I remember that we had to work very fast- otherwise the paint just dried... probably depends on the kind of paint you use. Love the pictures! Have a great day.
ReplyDelete