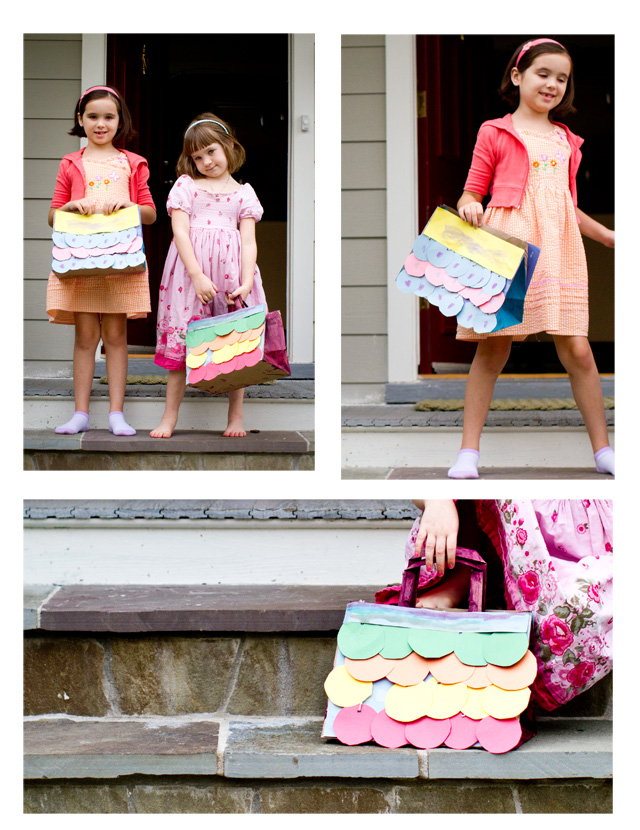
I'm not usually a fan of follow-the-instructions-type crafts projects, rather I prefer the open-ended-projects that suck up a whole afternoon and result in random artistic wonders. But P saw these purses in a book at the playseum (I can't remember the book's title) and really wanted one. So we created. And the results are actually pretty cute, perfect for dress up.
Here's the scoop:
Materials: large grocery store paper bag, paint, paint brushes, construction paper, yarn or string, a hole punch, and clear tape.
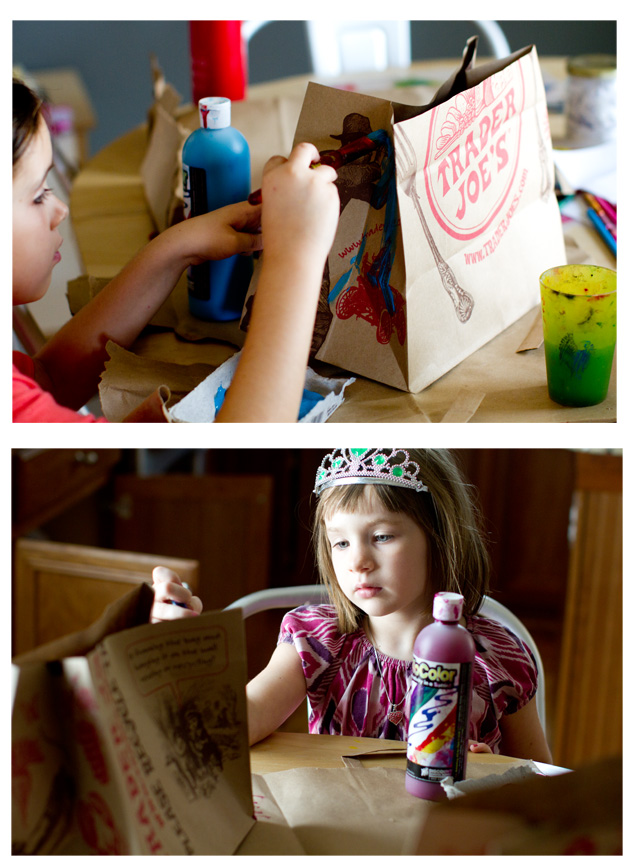
1. Cut the top off of a paper bag from the grocery store. Remove the handles (gently).
Paint the sides of the bag (but not the front or back) and paint the handles. Let dry.
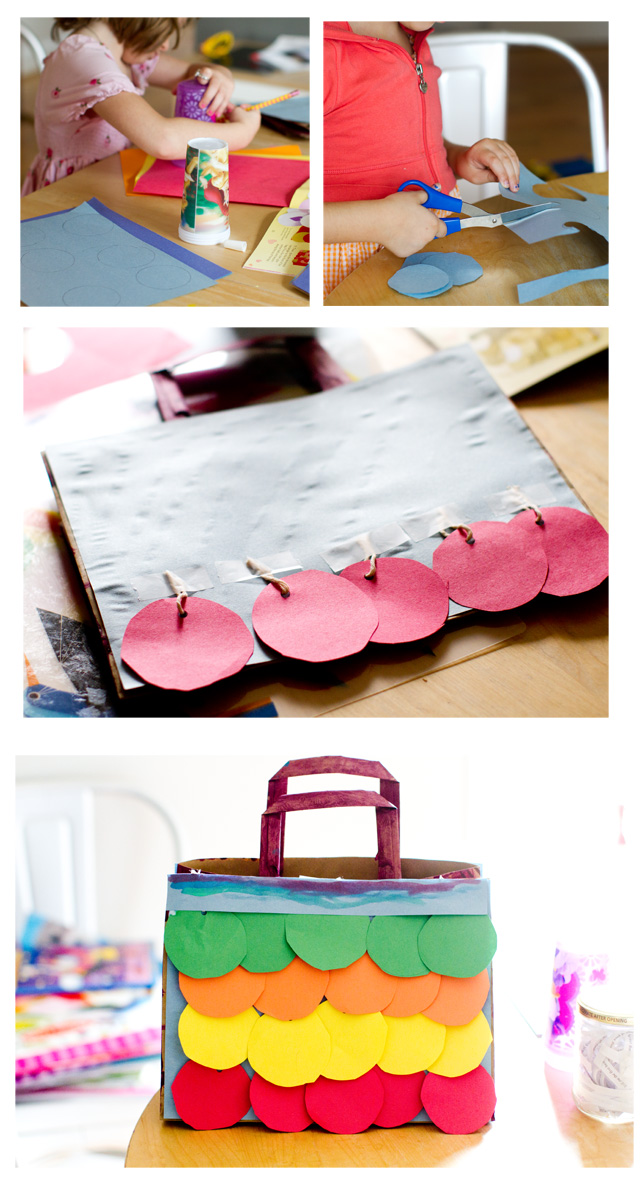
2. Cut a piece of construction paper to fit the size of the front of the bag (I actually cut the bag so that it was the exact same size as a normal piece of construction paper). Glue the construction paper to the bag. Glue an identical sheet of paper to the back of the bag.
3. Use a cup or glass to trace circles onto construction paper. Cut out the circles.
4. Punch a hole through each circle using a hole punch. Cut pieces of string of identical length and thread one piece of string through each circle's hole.
5. Attach the strings with the circles hanging to them to the bag in a row, using clear tape (see picture above).
6. After you finish attaching a row of circles, attach a second row, making sure that the next row of circles hides the string and tape from the first row.
7. Repeat making rows of circles. When you find that you have enough, cut a long piece of construction paper to disguise the tape and yarn of the top row.
8. Staple the handles back onto the bag (now painted).
9. Voila - a jangly purse. Now dance. A lot.
No comments:
Post a Comment