Showing posts with label easy crafts for children. Show all posts

2/28/12

Things to Make - Paper Mache Bowls

finish

This was a messy project, but amazingly enough, we had a crazy amount of fun working on it. Sometimes messy is good, especially when you're prepared. And the best part was that the bowls took three "rounds" to complete - thus allowing us to extend one project over a multi-day period. I think the kids also enjoyed having a longer-running project as they keep saying they worked on these bowls "really hard." And they're actually kind of pretty.

Here's the scoop:


ROUND 1

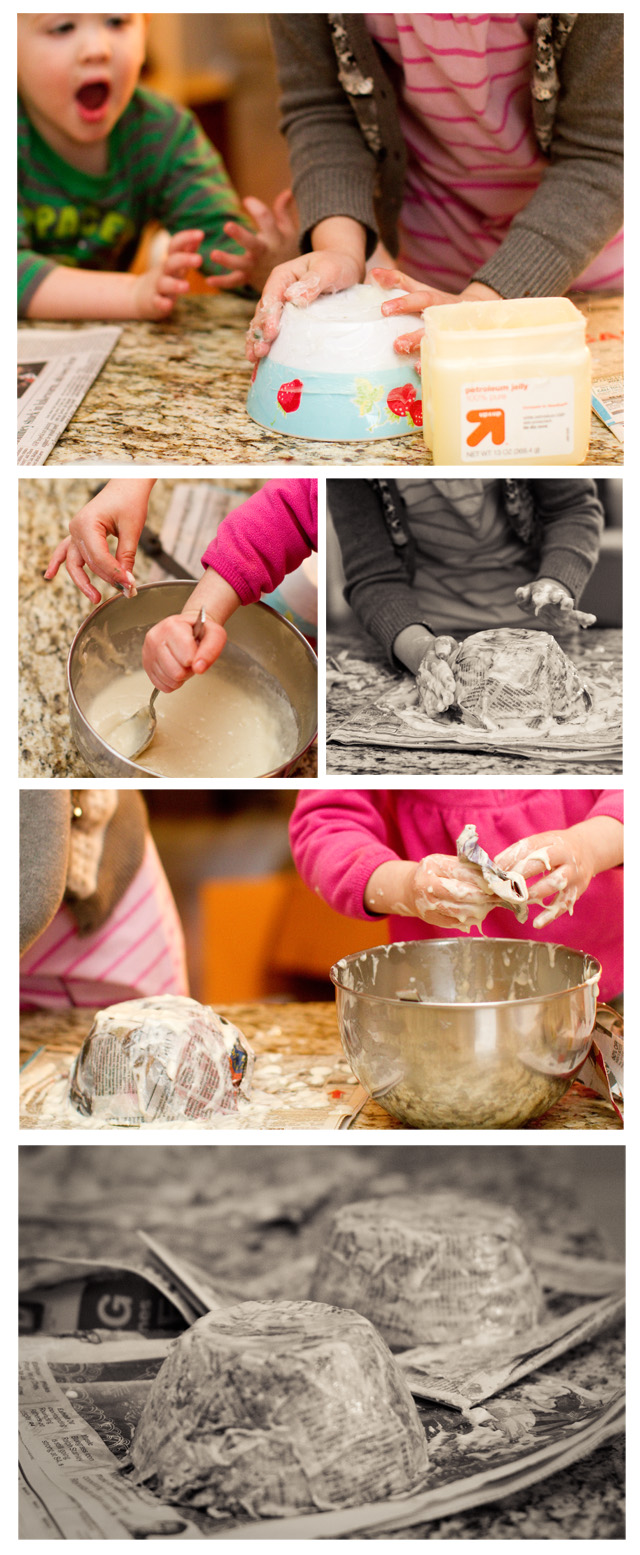
1. Use an existing bowl as a "mold" and coat it with a thick layer of petroleum jelly.

2. Mix together 1 cup flour, 2 cups water, and 1 tablespoon salt to form a liquid with the consistency of a thick paste.

3. Tear pieces of newspaper, dip them in the paste and assemble in layers over the "mold."

4. Let dry for a few days.

ROUND 2

5. Remove the hardened paper mache bowl from the "mold." (I had to use a knife in areas to pry it away.) Cut the rim of the paper mache bowl to make it even and smooth. Remove the petroleum jelly from the paper mache bowl with a damp, soapy cloth.

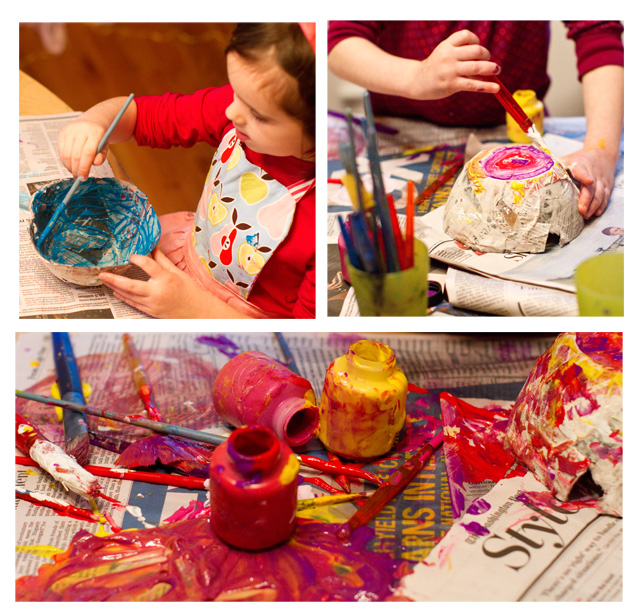
6. Paint the outside of the paper mache bowl (we used Crayola Washable Kids Paint set of 10 Bottles (2 fl oz/59mL)). Let dry for at least a day.

ROUND 3

6. Paint the inside.

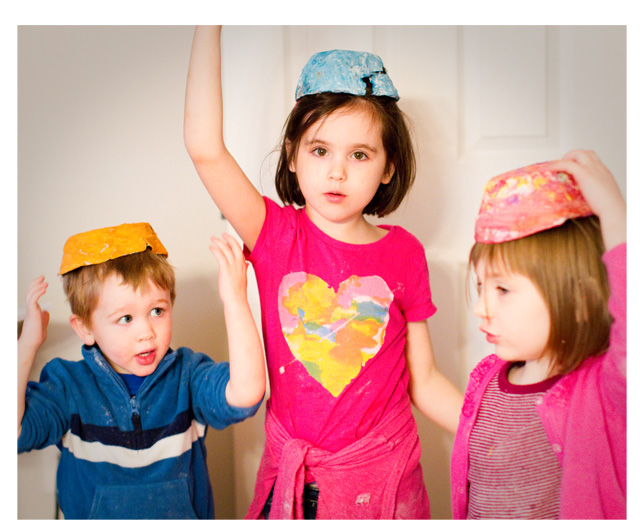
7. Use the bowls to store jewelry, keys, American Girl accessories, chapstick, etc. Or wear as a hat, just because.

round1

Round 1 - The girls did really well, but I had to assemble T's bowl for him. He kept saying "but why so messy? why?"

round2

Round 2 - F's become really interested in outer space and the planets (more on this next week), so she painted her bowl to look like the night sky. Both the girls have shown an interest in color mixing, so we used the newspaper to experiment.

round3

Round 3 - T overcame his aversion to messes and painted for a good thirty minutes. Painting is the one craft where T can outlast the girls, by a lot.

hats

We planned on using them as bowls, but then F decided the kids NEEDED hats. So they're sort of multipurposeful right now.

10/25/11

Things to Make - Preserving Fall Leaves

finish
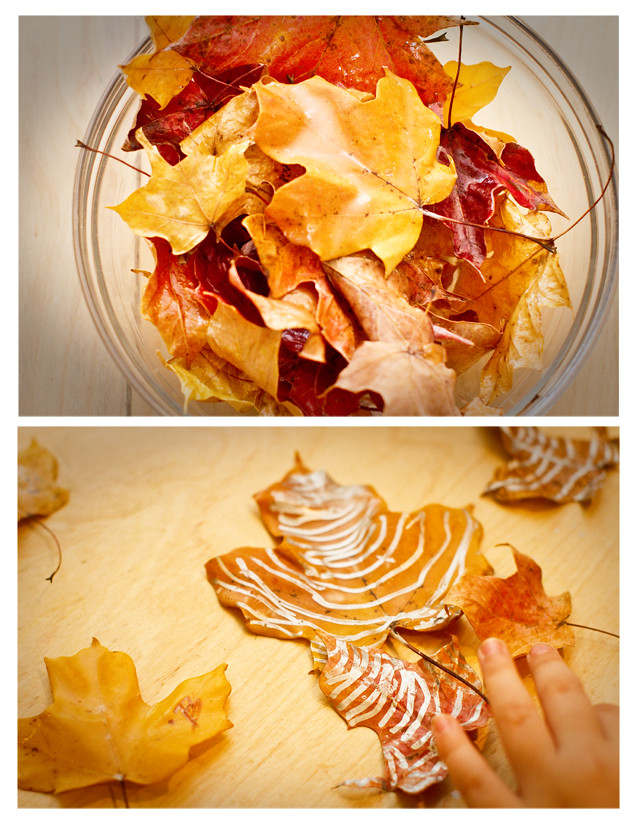
(the top leave was preserved with wax, the rest were mod podged)

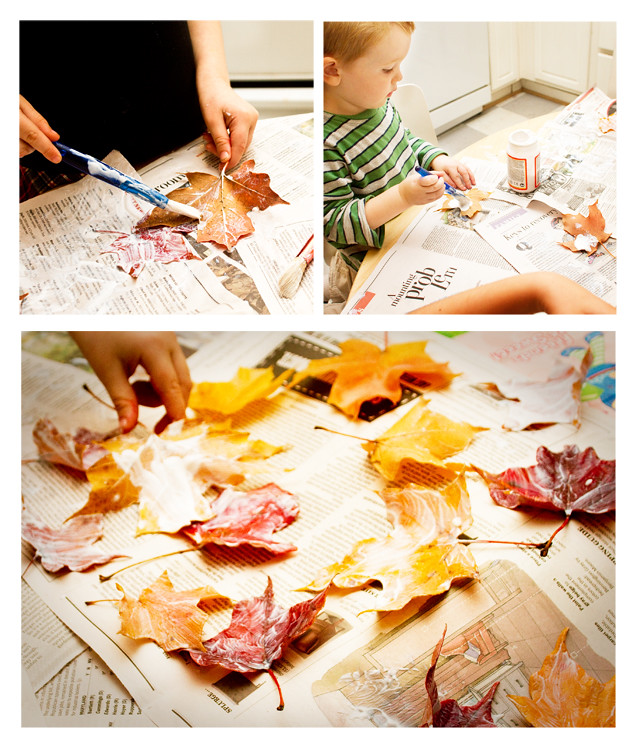
Using wax to preserve fall leaves has been all over the internet lately (click here for some info), so I thought I'd try it with the kids. First off, we went on a scavenger hunt for the best leaves. A huge tree resides on the corner of our block, it's one of those things that you don't really pay much attention to most of the year, but when fall comes that tree is the BOMB. The tree's leaves always change color first and it reside on a slope, so the whole surrounding area quickly fills with fall foliage. Anyways, for our scavenger hunt we took along buckets and gathered a LARGE amount of leaves. I then melted beeswax over the stove (double-broiler fashion, using clamps to hold an old beeswax-filled tin can in the boiling water), but the wax dried fast and it was hard to submerge the whole leaf (truthfully, I think you'd need a LOT of beeswax to make this work). So we moved to plan b - mod podge. I covered the table with newspaper, gave the kids paintbrushes and asked them to paint with the podge (we used glossy, but I think matte might have looked a little better when dry). The kids had a blast, though my husband complained that the smell permeated the house throughout the night.

paint

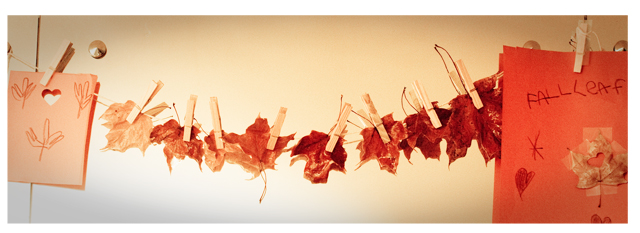
So what to do with the leaves? At first I left them in a bowl by the door, simple and seasonal. But then F decided we needed more decorations throughout the house (holiday decorating is not my strong suit), so we used string and wooden clothespins to create a leaf banner and hung it in our front room (along with other banner-worthy paper decorations created by F). We had a few leaves left over, which the girls chose to decorate with silver glitter pens. All in all a nice fall project. And I like that years from now we can get the leaves out and remember autumn of 2011, as cheesy as that sounds.

banner

I couldn't get a good picture of the banner. The flash and the mirror and ugh. Plus I was pretty done with being creative by the time I picked up the camera. On the upside, it's still hanging.

10/12/11

Things to Make - 25 Things to Make With Your Kids this Fall

As I stated last week, fall makes me happy, but sometimes it rains (or maybe I should say some MONTHS it rains). What to do? Well here are some activities that will keep you and the kiddos occupied for awhile.
pumpkins


I. FALL AND HALLOWEEN CRAFTS


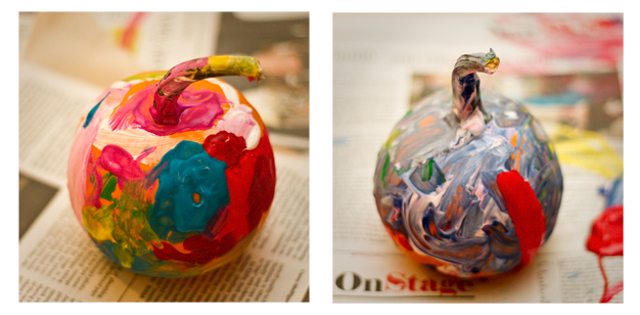
1. Painted Pumpkins (previously posted here) - sometimes carving is hard (and/or dangerous). So get out the paint, glitter, markers, stickers, etc. Dress those pumpkins up.

2. Leaf Rubbings (previously posted here) - F discovered this "project" last year through Special Agent Osso. Just grab a leaf, cover it with paper, and rub with crayon. Once you start you can't stop.

3. Stained Glass Pumpkins Using Tissue Paper and Liquid Starch (previously posted here) - Cut tissue paper into squares. "Paint" a sheet of wax paper with liquid starch and start attaching the squares. Continue to apply liquid starch. Soon you'll have art. Window-worthy art.

4. Princess Crowns (previously posted here) - Every autumn needs a princess and these are so easy to make. Just attach ribbon to garland and wear.

5. Nature Art (previously posted here) - I last posted on nature art in the spring but it's a fun project for all seasons. Go on a nature scavenger hunt and let the kids pick up whatever they find interesting (within reason), try picking up some stuff yourself too. Then go home, get some blank paper out, some markers, glue, and create. You never know what you'll come up with. Lately I've been thinking of how cute a little acorn family would look. Especially with those cool acorn hats.

6. More - I have a whole Pinterest file full of ideas for fall crafts, such as dipping leaves in wax to preserve their color, making candles out of clementines and olive oil, ghosts made with liquid starch and cheesecloth, and more. Click here to check it out.
teepees

II. NATIVE AMERICAN CRAFTS FOR THANKSGIVING

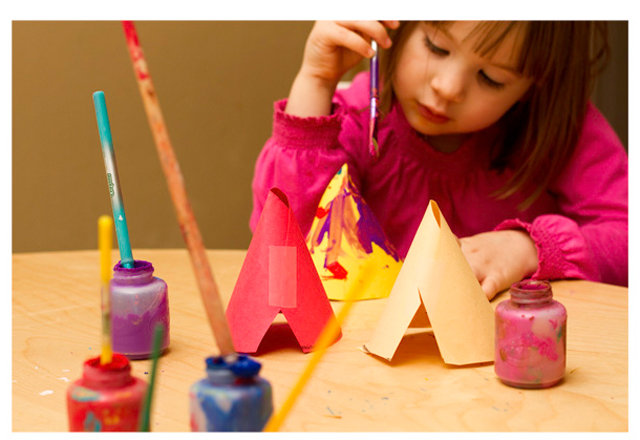
7. Teepees and Headbands (previously posted here) - A really easy craft and a great way to introduce native american history and culture into your house.

8. A Pueblo Village (previously posted here) - A wonderful all-day craft project. Start with some old boxes, layer them on top of each other. Use playdough or clay (homemade or store bought) to make pots and furniture. Then decorate the outside of the houses with natural materials found in your yard. Build ladders out of sticks or construction paper. Make paper dolls to go in the house.

9. Story Sticks (previously posted here) - The Pima Indians of Arizona kept records of things that had happened in their lives on story sticks. We imitated the Pima by using flattened paper towel rolls to tell our stories. It was great to see the girls spin a tale using linear pictures.
paperdolls


III. RAINY DAY CRAFT PROJECTS FOR KIDS OF ALL AGES


10. Make Your Own Playdough Out of Kitchen Staples (previously posted here) - flour, salt, water, oil, and food coloring = an afternoon of play.

11. Goo (previously posted here) - Pour some cornstarch into a bowl and gradually add water (make sure to add the water slowly, you don't want too much) until the mixture hovers between a liquid and a solid. Play, bend, create. Messy but fascinating.

12. Bare/Blank Books (previously posted here) - Everyone wants to write the great American novel, even those who still can't spell their name. Here's their chance. If you don't have any bare books in the house, just make one using folded white paper and a stapler.

13. Make A Butcher Paper Town (previously posted here) - Use blocks, trucks, dolls, and other toys to build and then draw in the streets, rivers, etc on the paper.

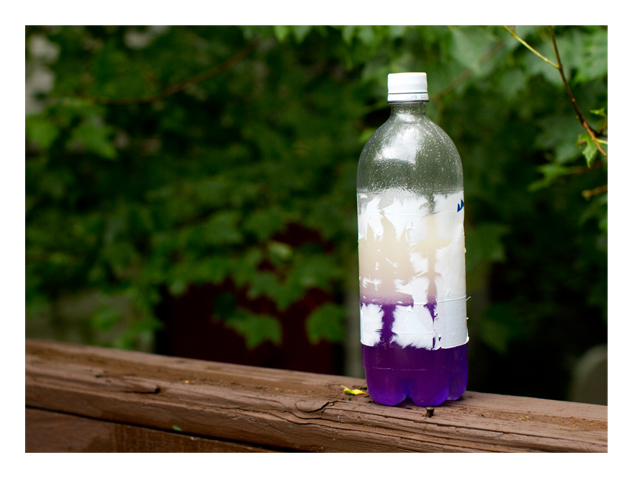
14. Make A "Lava Lamp" (previously posted here) - Our version just used oil, food coloring and water, but if you want to jazz it up a little you could add jelllyfish (made from plastic bags) or add alka seltzer for a cool bubble effect.

15. Make Stamps out of Potatoes (previously posted here) - All you need is potato, ink/paint, and paper and you can make whatever you want (and a knife). Use your imagination.

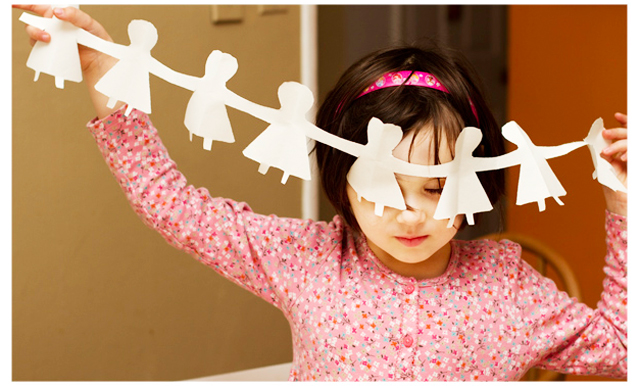
16. Paper Dolls (previously posted here) - Draw, fold, and cut. From a sheet of paper a whole family emerges.

17. Get Out the Liquid Watercolors or Food Coloring - and make salty watercolors (so fun), marbleized paintings using shaving cream, OR marbleized painting using oil and water.

18. Handprint Puppets (previously posted here) - Trace handprints and make them into animals, try making different shapes out of your hand before you trace (for example separate your middle and pointer fingers to make a fish mouth). Can you create a jellyfish? A dinosaur? What else?

19. Dive Through the Recycling Bin - and make doll castles and musical instruments from old toilet paper and paper towel rolls.
tiedye


IV. RAINY DAY CRAFTS FOR PRESCHOOLERS AND UP


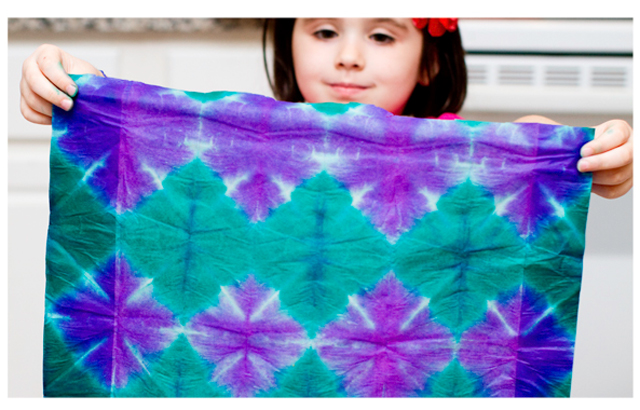
20. Get out the Tissue Paper and make tie-dye wall hangings, flowers, or decoupaged vases.

21. Swirly Stones (previously posted here) - Rocks + melted crayon = hours of fun.
bake

V. COOK

22. Apples! - We like to make baked apples and applesauce in the crockpot (previously posted here).

23. Homemade Bread - in the breadmaker (previously posted here) or zucchini bread in the oven (previously posted here).

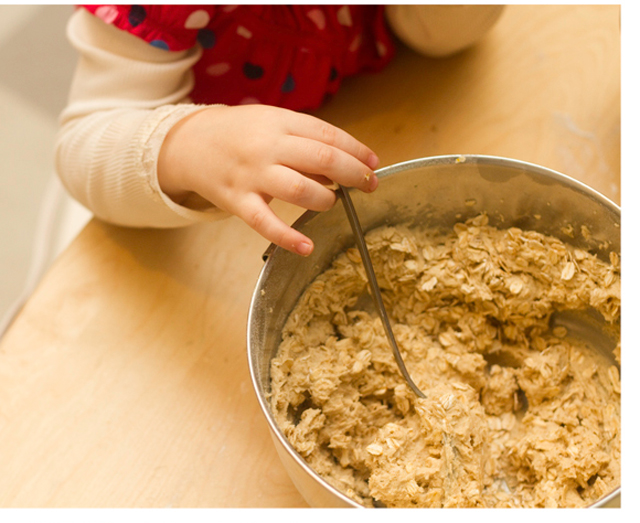
24. Bake - We like to make Chewy Oatmeal Blondies and Grandma's Sorghum Cookies.

25.Caramelized Pumpkin Seeds - We've never made these but WOW do they look yummy (and easy). Click here for the info.

9/27/11

Things to Make - Halloween Stained Glass with Tissue Paper and Liquid Starch

p

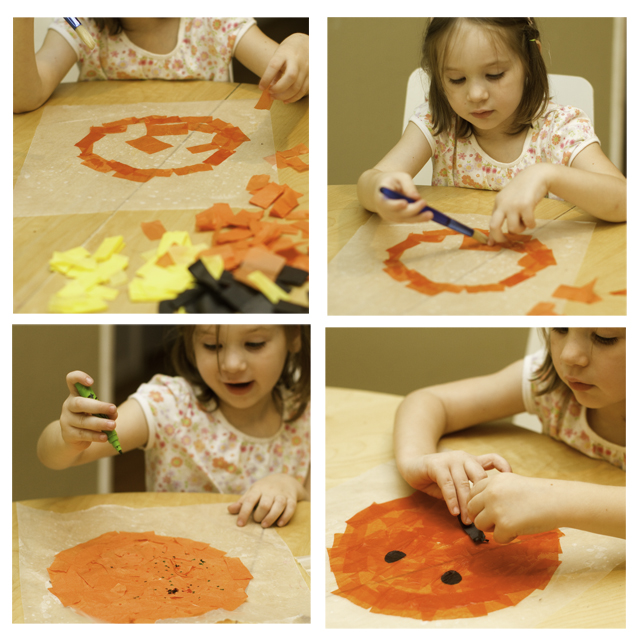
When I read about using tissue paper and liquid starch to make stained glass on the Artful Parent I decided it would be the perfect method for crafting Halloween decorations. I bought black, orange, and yellow tissue paper at AC Moore, poured some liquid starch into an clean old yogurt cup, gave P a paint brush and let her create. P decided she wanted to make a pumpkin, so we worked together on creating the circle. I thought it would be cute to use the black tissue paper to make the face but P stated that jack-o-lantern faces looked "too scary." So she decided to let it dry and color on her pumpkin with markers.

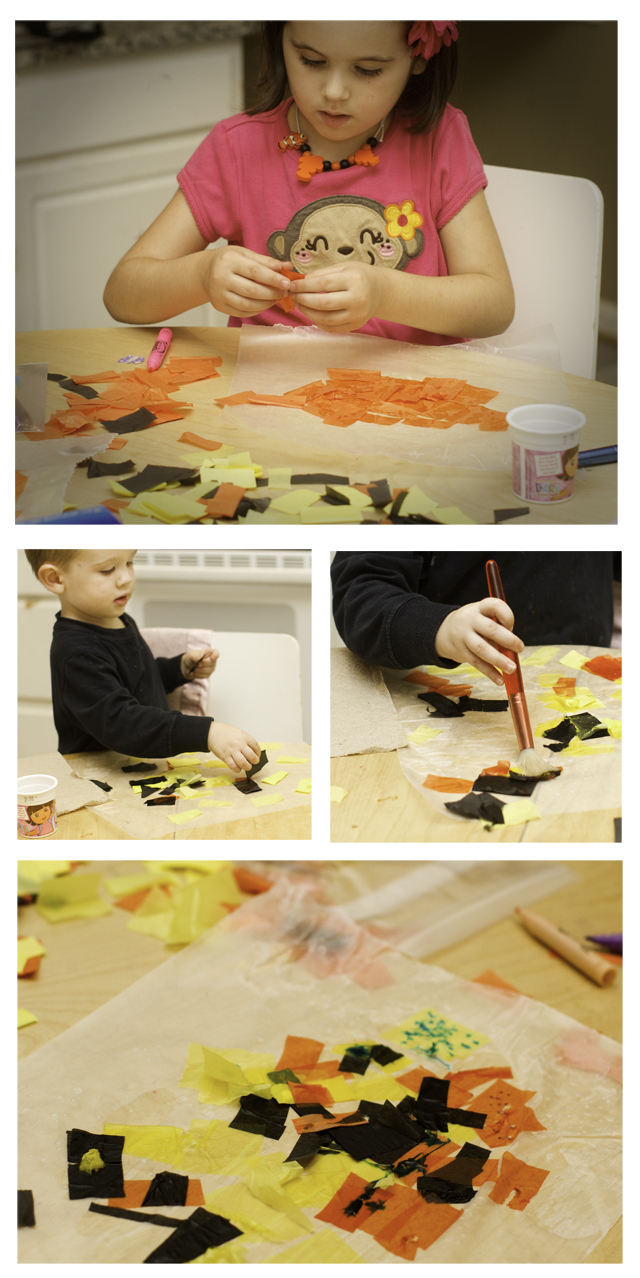
When T woke up and F returned from kindergarten they really wanted to make their own creations. I was pretty impressed that this project was so toddler-friendly, T spent over a half hour making a collage with not that much parental involvement. F made a pumpkin and a collage. She also liked coloring with markers on the still-wet tissue paper and watching the color swirl. All in all a pretty easy way to fill an afternoon. And now we're prepared for Halloween.

Here's the scoop: You'll need: liquid starch, tissue paper, wax paper, and paint brushes.

1. Buy liquid starch at the grocery store. Pour a small amount into a container.

2. Cut tissue paper into small pieces.

3. Using a brush, "paint" a small amount of liquid starch onto the wax paper (you may want to put newspaper underneath the paper, it gets messy fast).

4. Arrange tissue paper on the wet wax paper then paint over the tissue paper with more liquid starch.

5. Let dry.

6. Hang in windows. Lovely!!

paper

CREATIVE IDEAS FROM AROUND THE WEB:

*LOVE these DIY popsicle-stick magnets for the fridge.

*Leaf printing on fabric from the Artful Parent.

*This pinterest collection has TONS of great project ideas. Check it out. Also, I have a fall craft project Pinterest collection - click here to view it.

*A face sticker pad!! I need to purchase some of these. This looks like a great activity for a wide variety of ages.

8/9/11

Things to Make - A Homemade Lava Lamp (sort of)

shake

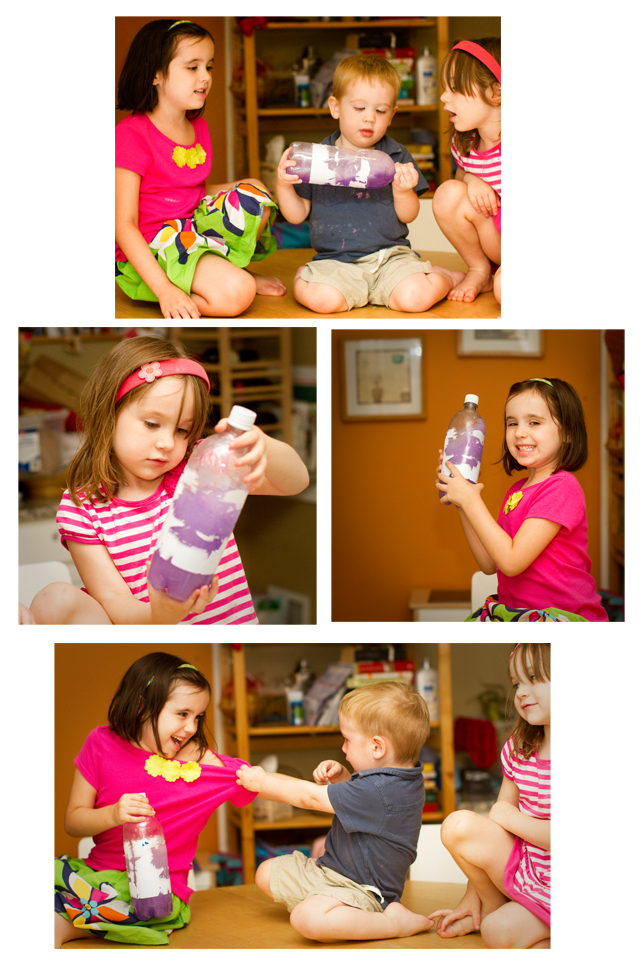
The other day, while perusing the $1 aisle in Target (so wonderful in so many ways), I picked up up a Science Projects workbook, full of fun stuff to do with the kids. Plus, the Artful Parent has posted several easy science experiments, which inspired me. First up - the homemade lava lamp (the word "lamp" being completely extraneous to the description). I figured this would be a great experiment to try with all three kids, as it seemed toddler-friendly. On the upside, T LOVED it. On the downside, he loved it so much that he fought his sisters for the right to shake the "lamp". He fought hard. So it goes.

Here's the scoop:

1. Find an old 2 liter plastic bottle (or a smaller plastic bottle) and remove the wrapping so you can see inside (this is the hard part, I had the girls do it, which took up a good half hour).

2. Fill the bottle up 50% with vegetable oil or olive oil.

3. Use a cup to mix water and liquid food coloring or liquid watercolors (I let the kids pick the color and mix the water). Talk about how the color DISSOLVES in the water, making everything uniform.

4. Funnel or pour the colored water over the oil into the the bottle.

5. Cap the bottle and shake to mix. Talk to your kids about how the oil and water mix.

6. Then let the bottle sit for about an hour and notice how the water separates from the oil. If you're motivated, you can have your kids write scientific notes on how the bottle changes with time.

We kept the bottle around for a few days (I, oddly, found playing with it a great stress reliever) and P liked to shake it and talk about how oil and water don't mix.

TURNS OUT THAT THIS PROJECT BECOMES REALLY FUN IF YOU ADD SOME ALKA-SELTZER, click here to learn more.

OTHER CREATIVE IDEAS FROM AROUND THE WEB:

*DIY liquid watercolor paint using old dried out markers. Such a good idea. And, as you all know, we use liquid watercolors a lot (click here to see all our past liquid watercolor posts).

*Melted crayon art (how awesome is this picture?)

*DIY paint with water pages (link via Modern Parents, Messy Kids)

*I love these downloadable dot to dot pictures (so cute) from Under the Pecan Tree.

*Made from Milk Cartons - lots of great ideas and inspiration.

*Make a "magic book" out of a sheet of paper.

*This super-detailed tutorial on making crepe paper flowers is wonderful. I want to make them all. But with the kids I'll probably stick with our super-easy tissue paper flowers.

sit

9/21/10

Things to Make - Cutting and Gluing with Pretty Paper

arttop

artmiddle

artcomp

Since yesterday's post was on the National Gallery, I figured I'd stick with the art theme and blog about preschool art projects. Every fall (with winter LOOMING ahead), I decide that this is going to be the year of art projects. Then the baby cries or the girls whine or something else goes wrong and I think "well, maybe next year will be the year of art projects." My mom was a huge art project mom, so I want my kids to grow up the same way, but in real life I find art + three kids = tricky. Okay, enough complaining. This year things are going to be different, as I have decided to lower my ambition and start with REALLY EASY art projects, hence the pictures above.

Darcy's Easy Art Project - Round One

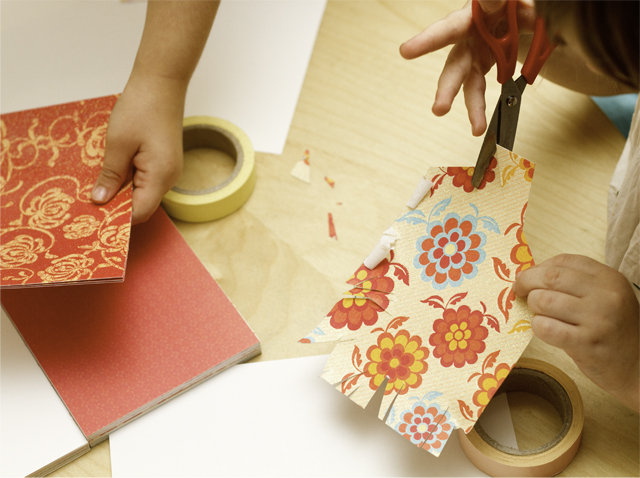
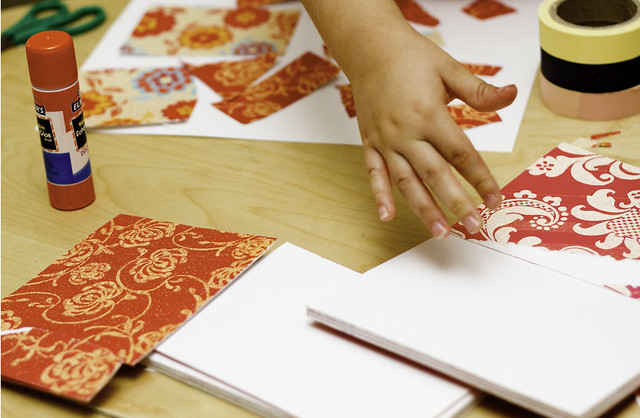
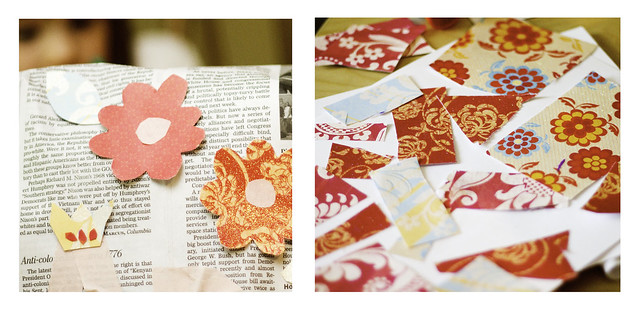
Both my girls are obsessed with scissors lately, so I went to a AC Moore and bought a ton of scrapbook paper for them (DCWV MS-003-00062 Mango Frost Mat Stack) to cut and glue (does paste even exist anymore or has the gluestick completely replaced it?). Plus, some scrapbooking tape to create with as well. (When I was a kid, I used to love wallpaper books, so I figured this was close to the same idea.)

Good news - it worked. They spent all afternoon cutting random shapes and pasting them onto different paper, with very little help from me (though my mom did get involved, hence the flowers). So far so good, hopefully more art projects will follow.

Regarding ideas and inspiration, the creme of the creme for GREAT kids' art projects is this blog - The Artful Parent. If you have a chance, check it out, there are years worth of archives so you're sure to find some sort of project that works for you.

LinkWithin

Related Posts Plugin for WordPress, Blogger...